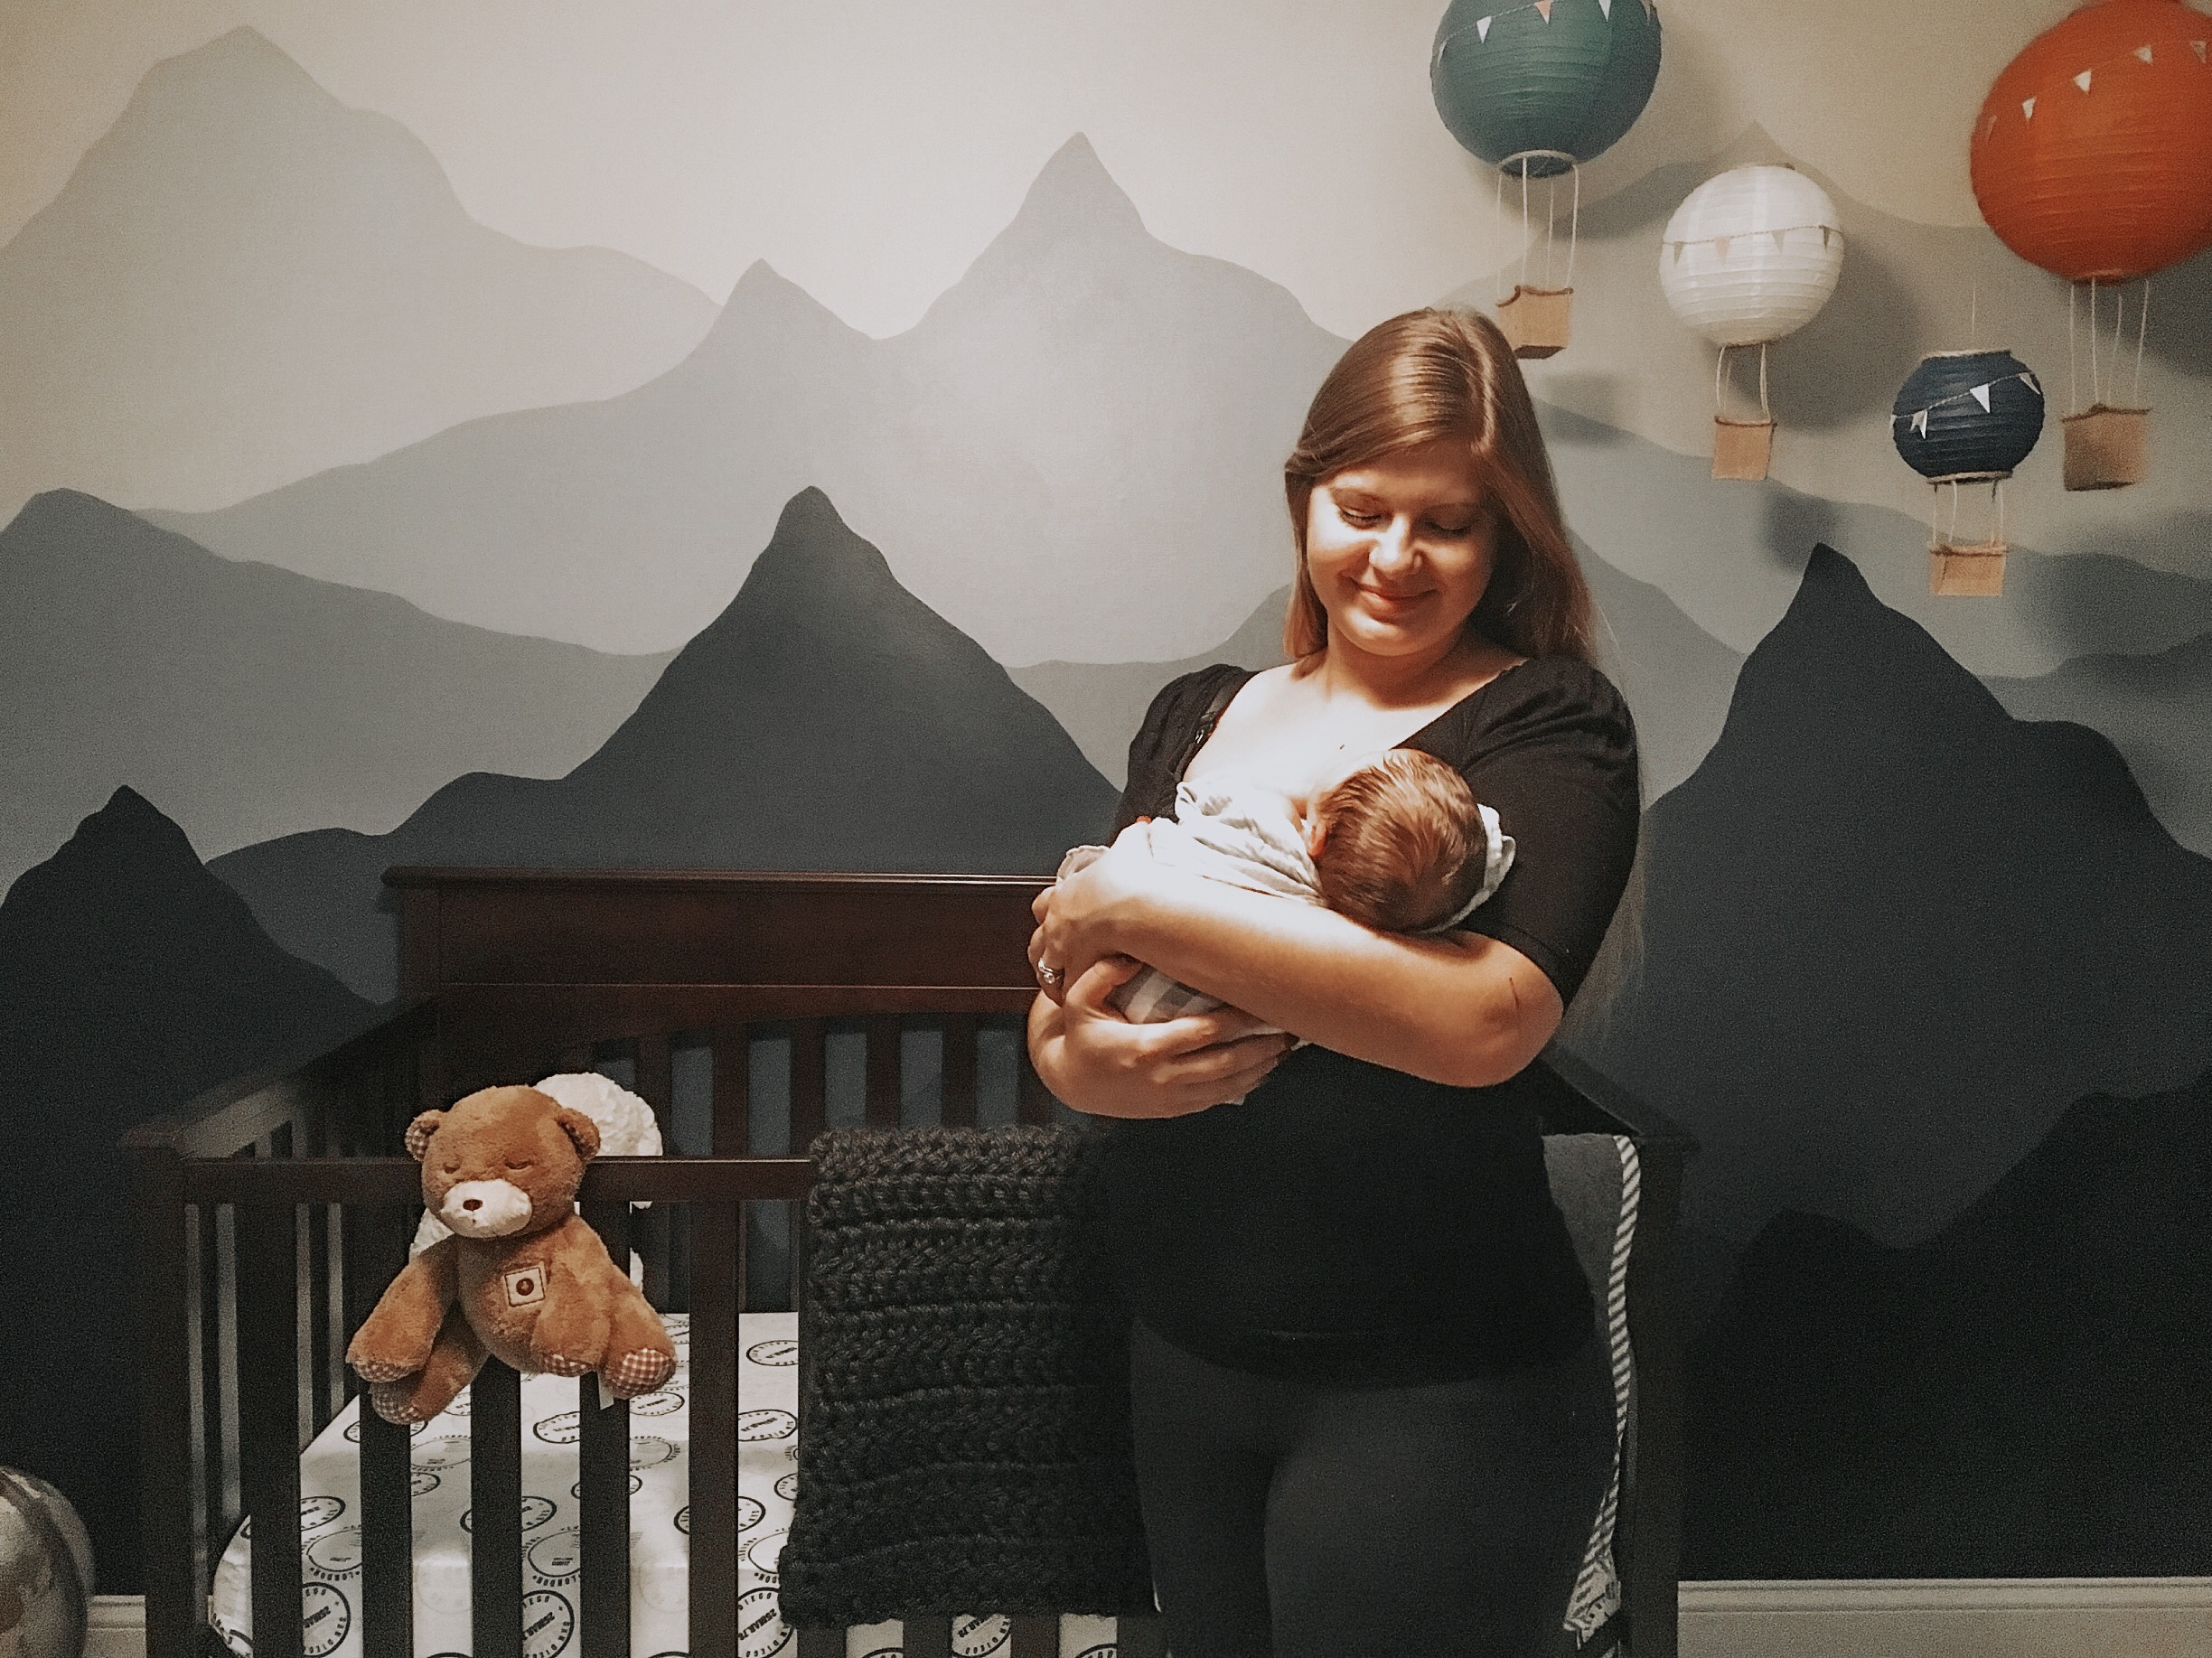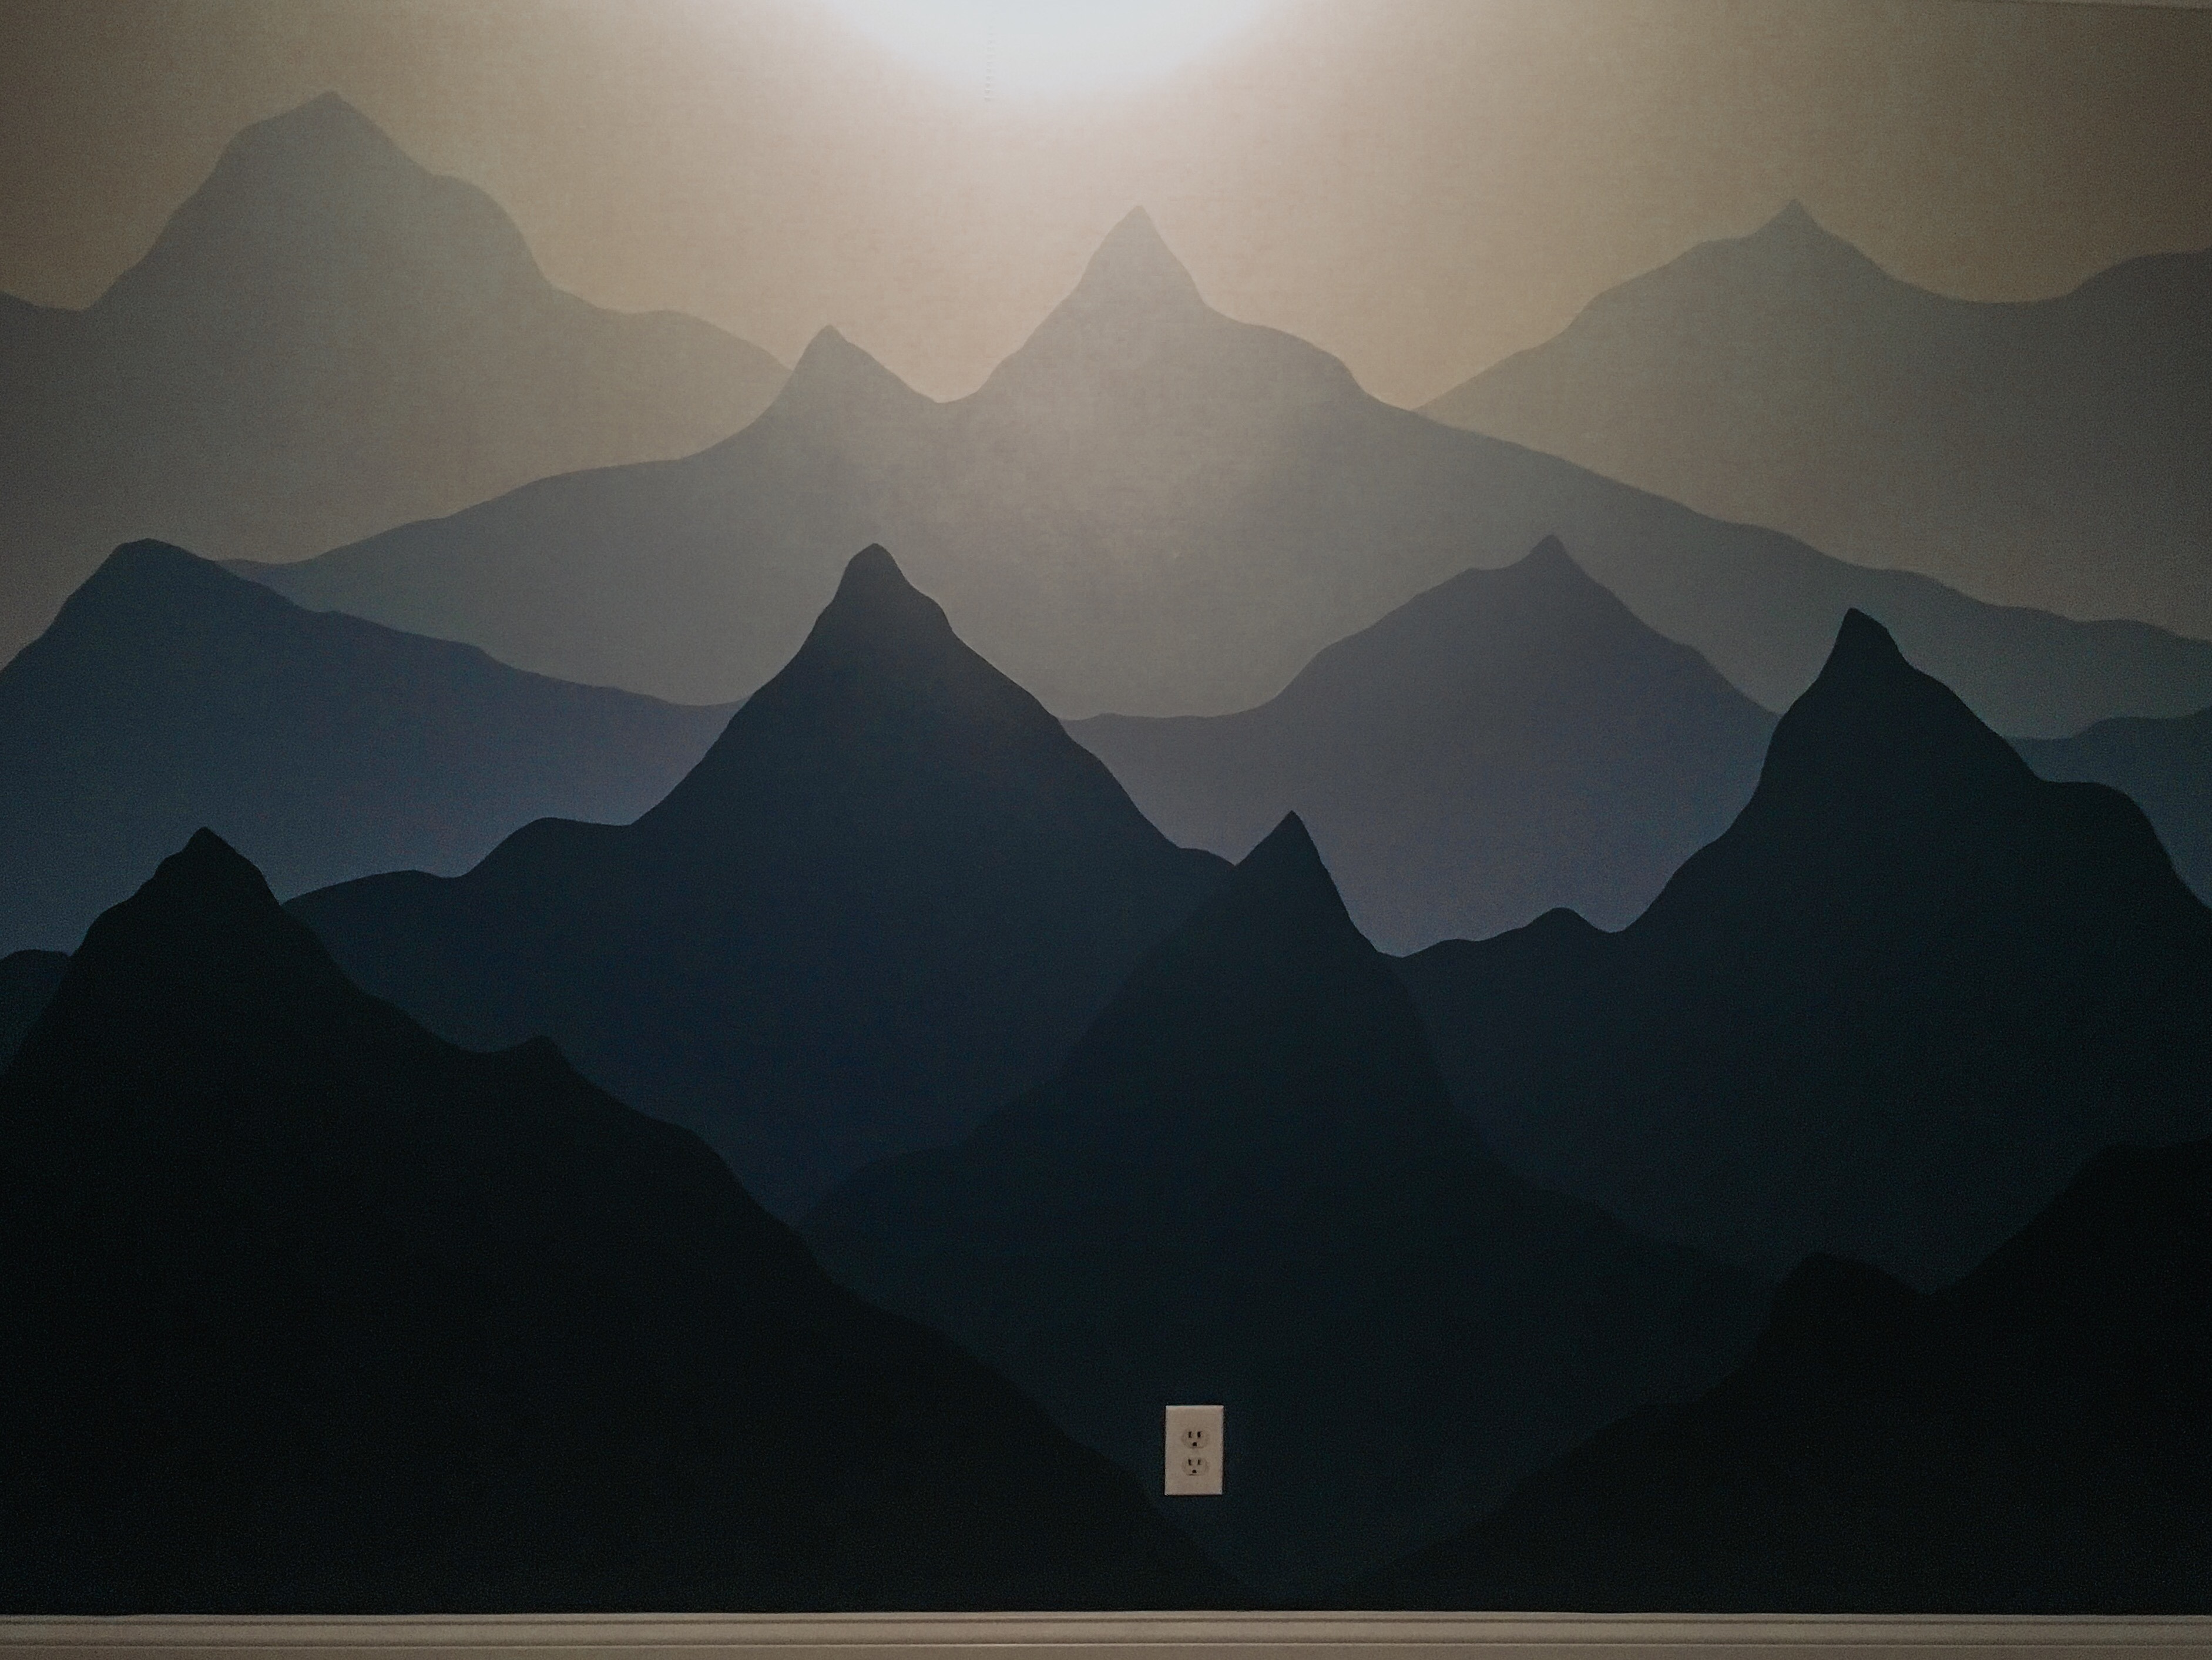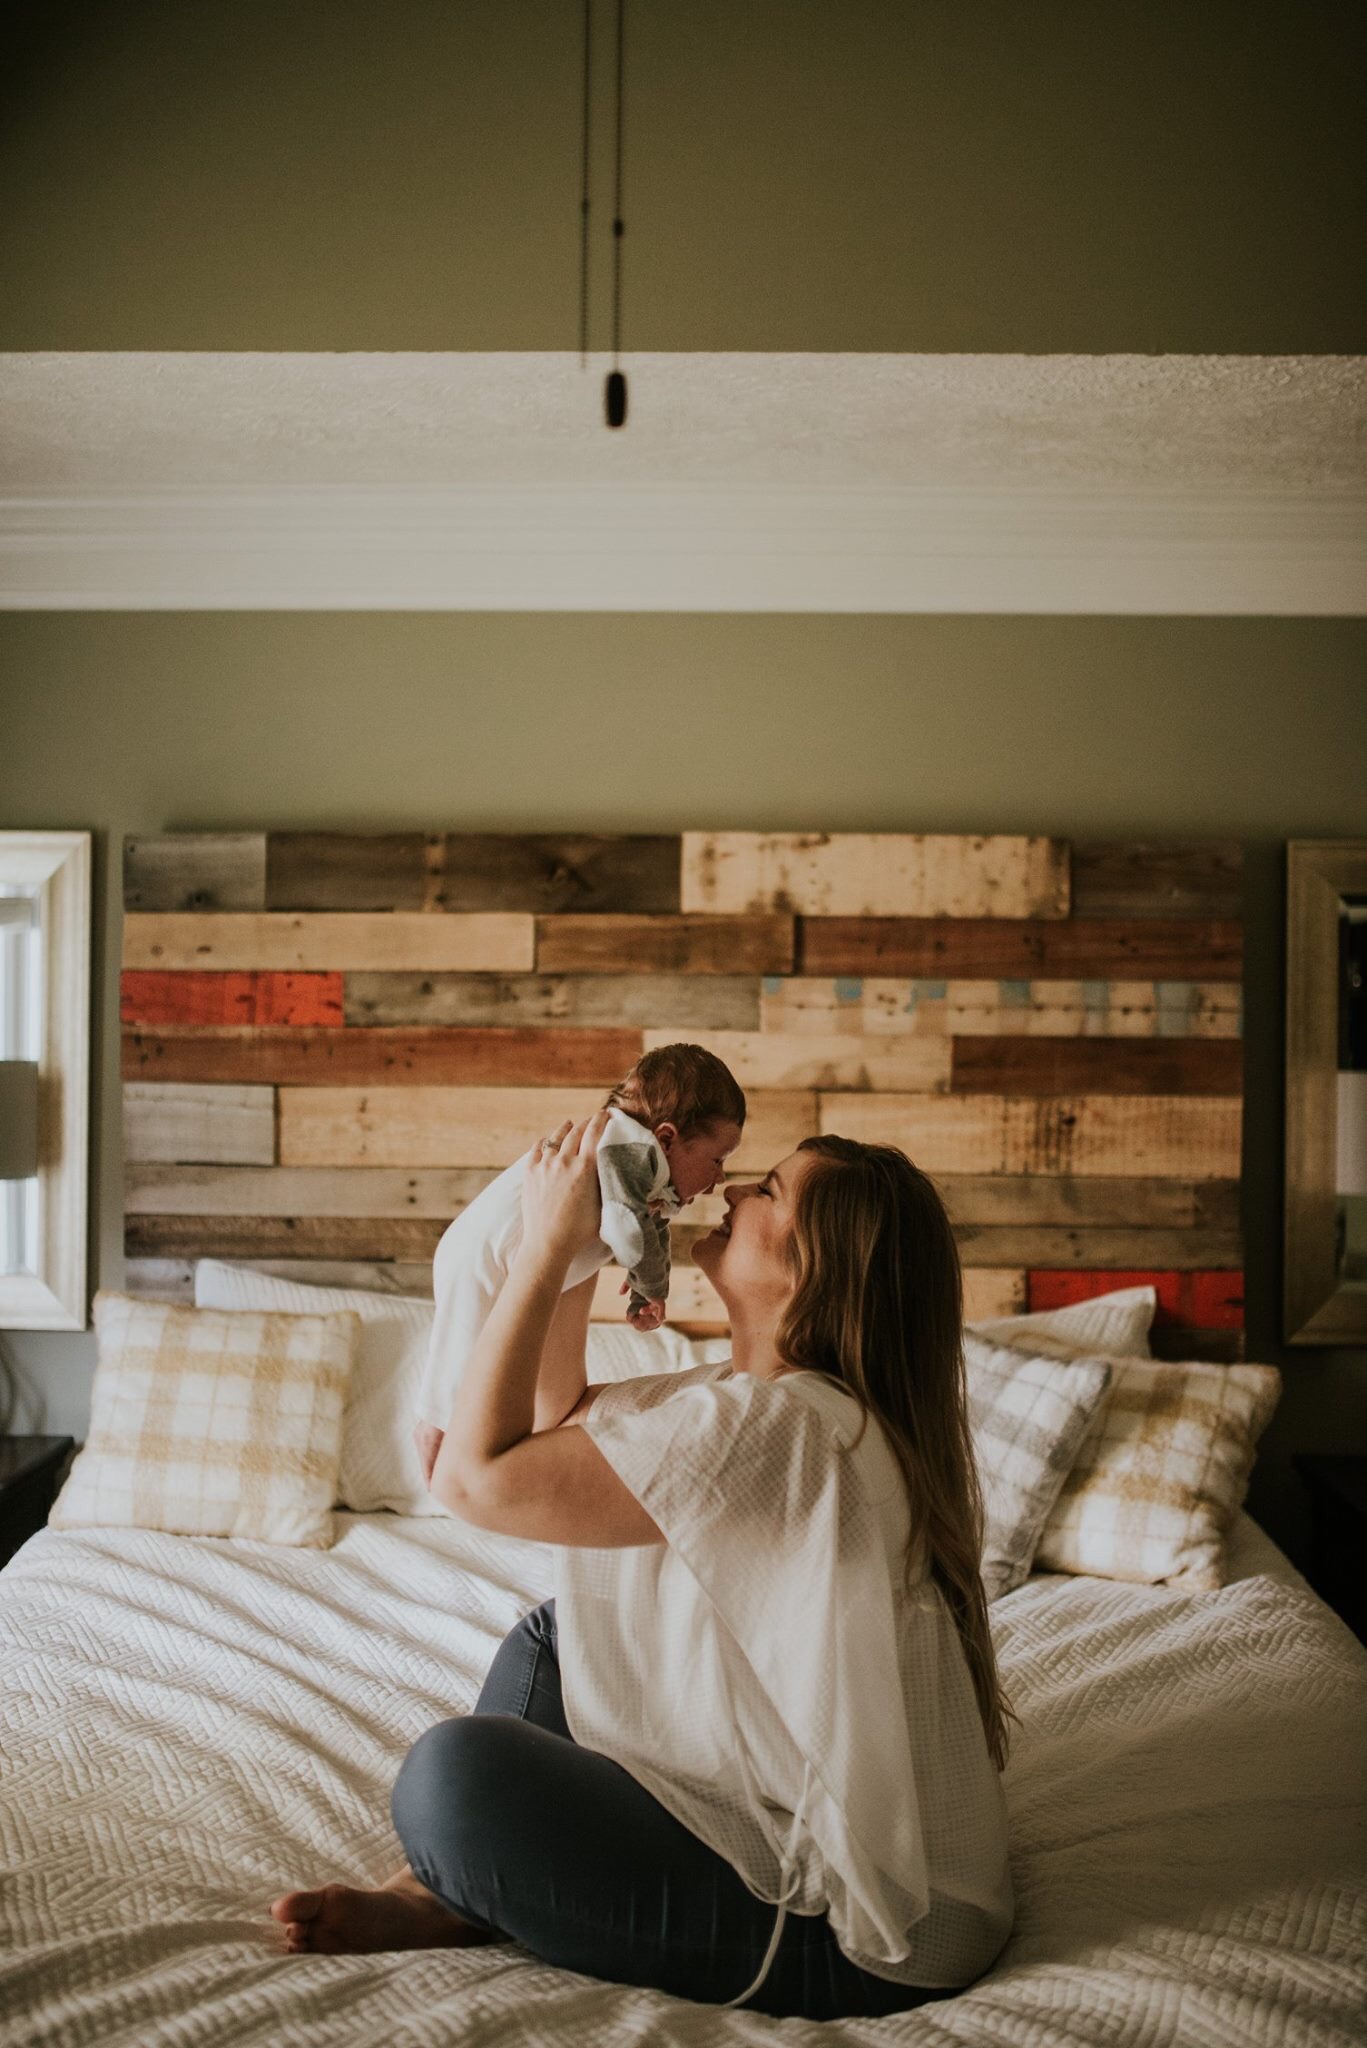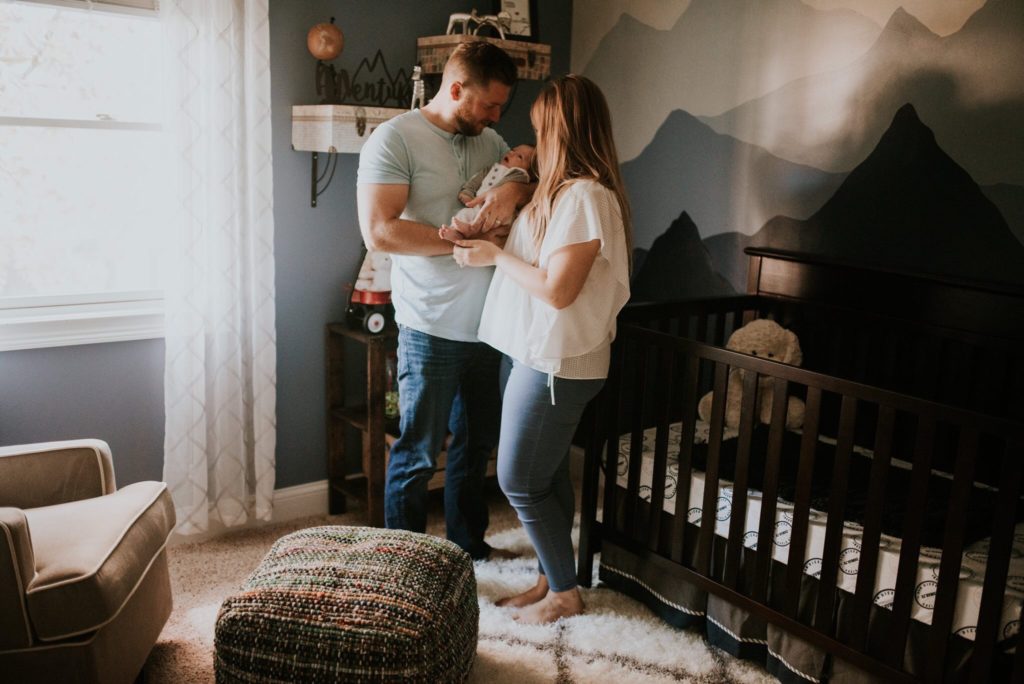
There’s nothing like a good feature wall, in my opinion! Bedrooms are my favorite place to add some visual interest and anchor a main wall when entering the room. The mural that I will be giving a tutorial on was done in our nursery for our boys. This was one of our first DIY projects together in our last home. I miss walking into this space to rock my babies and staring at this mural in those early morning hours dearly! This mural was the first spark that gave Ross and I the idea to start ‘The Calico Home’ so it is fitting that this is among our first shares. When we went to sell the home, we had multiple home buyers comment on this room and ask us how we did it. I ended up writing a short how-to for my realtor so she could share as it came up! Alas, the new owners are enjoying it now and I get to share with you how easy this was and how you can take this concept and make it your own!
Our older home had smaller bedrooms and I knew that a piece of art above the crib just wasn’t going to cut it for me. I had visions of an “adventure theme” room complete with hot air balloons, suitcases with travel stickers, globes, and of course a mountain feature wall that made the hot air balloons look as though they were gliding through the air. This was the first task to tackle when we started on the nursery and set the tone for the whole room. This mural is timeless, and I can see this being enjoyed for years in any room of a home.
What you will need:
- 1 gallon of a mid-tone color that you would like to use on other walls in room (this may vary depending on size of room and coats needed on each wall (we prefer Sherwin Williams Satin Finish) Tip: I find that it is easiest to go to the store and ask to see their color swatch fan deck so that you can make sure that the lighter and darker colors you are going to use to mix will have the same tone and look cohesive.
- 1 Quart of a lighter tone in a cream or white that has the same undertones as the color you have chosen for your mid-tone overall color
- 1 Quart of a dark tone in the same color family as the mid-tone overall color.
- 3-5 Solo cups for mixing paint (trust me on this, you can use the indents in the cups to measure paint ratios for the mural)
- Inspiration picture for your ombre mural and a plan of how many colors are going to need mixed. Find inspiration images that speak to your style! I scowered the web for scenic places with misty mountain scenes and muted tones.
- 2″ wide Purdy brand paint brush (our favorite for trim work and painting edges)
- Small 4″ wide paint roller
- Miscelaneous items that are good to have on hand: wooden paint mixers, pencil, Magic Eraser sponge, paint tray, paint roller, paint tape, drywall mud, ladder, drop cloth
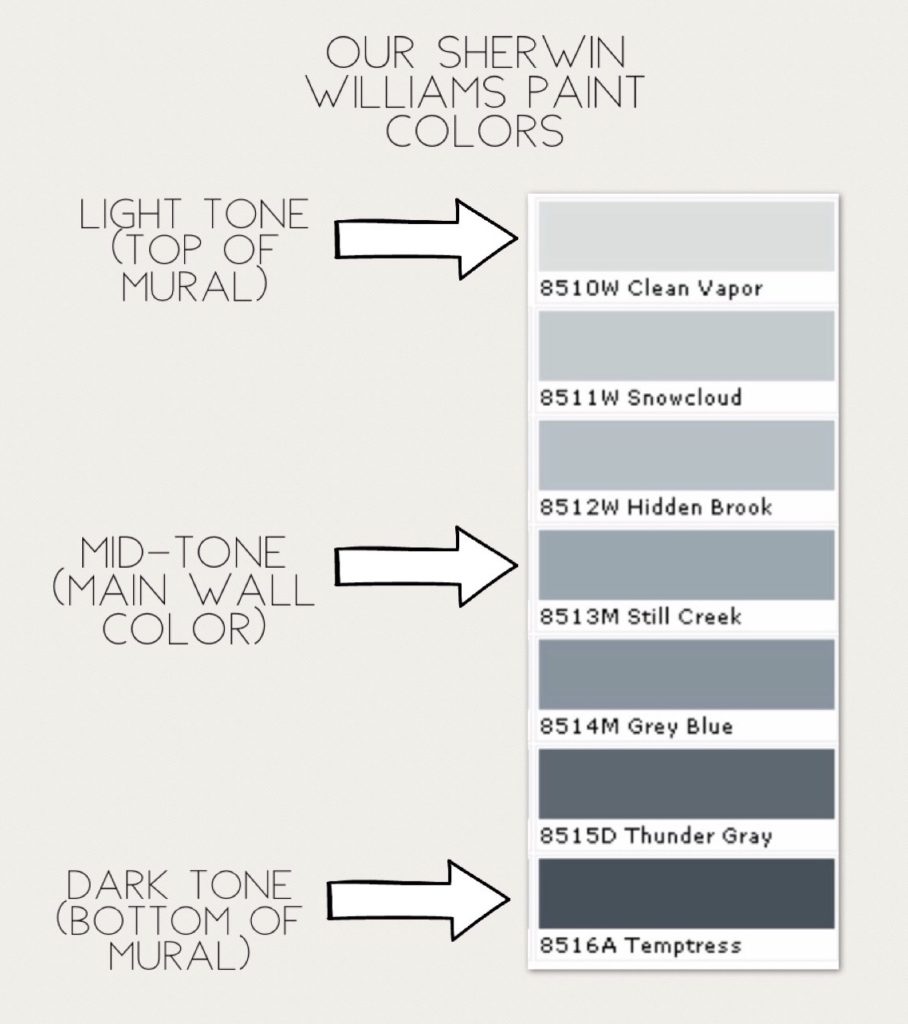
Step One: Tape off any trim or openings and get to painting! We used our overall mid-tone color and painted all the walls in the room, including the one with the mural. After this was completely dry, we went ahead and taped off the corners where the walls touched any adjacent walls so we had a sharp edge and less paint bleed once we started on the mural.
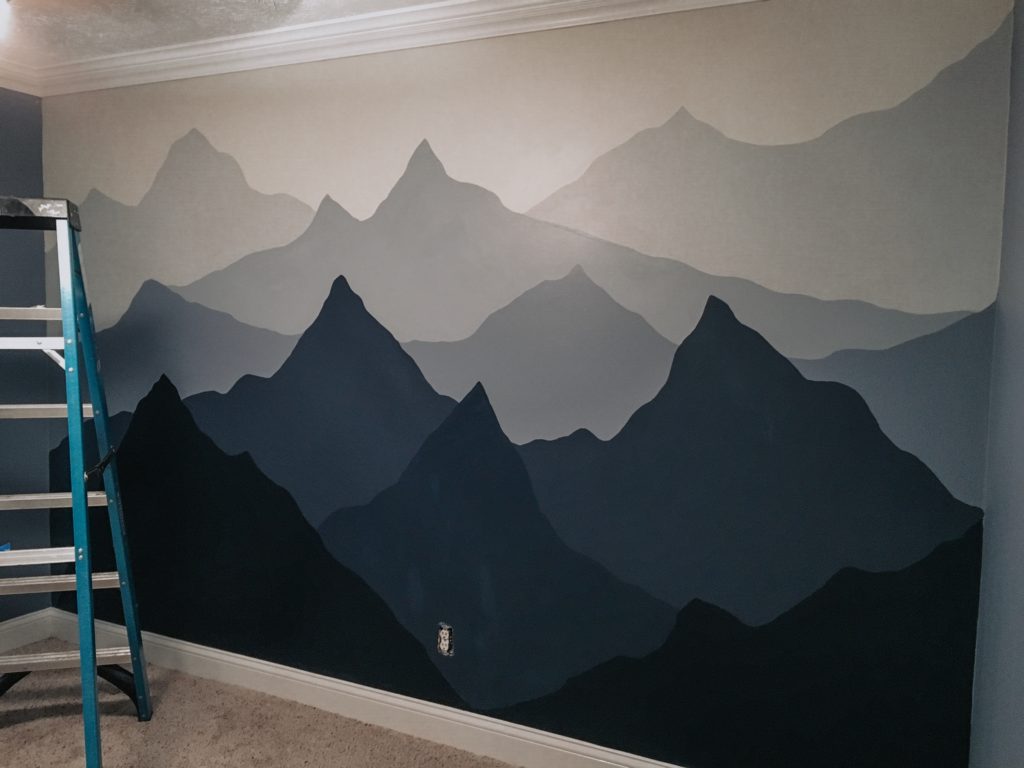
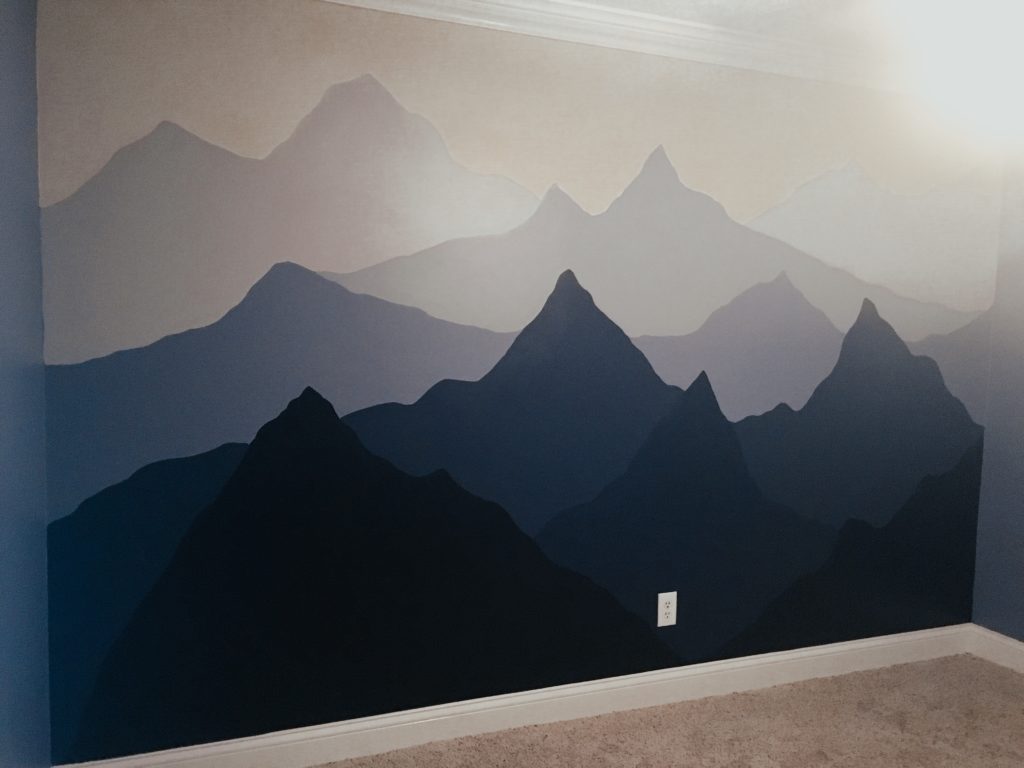
Step 2: Start Sketching! Using your pencil and a light hand, go ahead and sketch your mountain scene. Have your picture handy and stand back often to check your work. Don’t worry about making mistakes here- use your magic eraser if needed and know that you most likely will be painting over it. I freehand the mountains by simply taking the pencil and walking down the wall making imperfect jagged lines with a defined peak. Don’t overthink this part to much-just go for it! I would recommend no more than 5 layers just to cut down on the paint mixing for your sake, but its totally up to you. Below is inspiration for how the layers can be laid out.
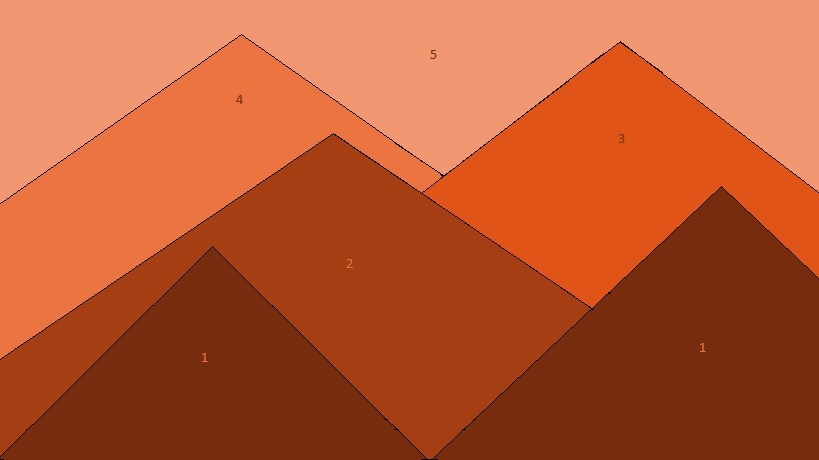

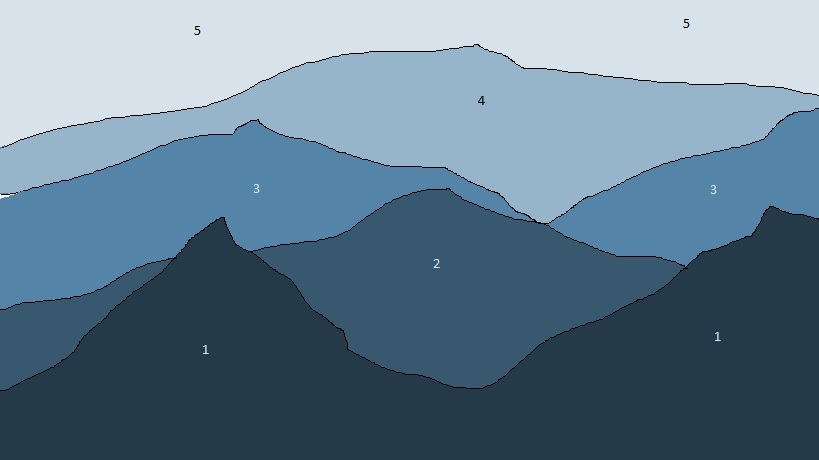
Step 3: Label your layers- 1 through 5 with your pencil. I recommend labelling the layers at each corner and in the center. This will help you keep it straight once the paint started going on, especially if you have some layers that do not go from end to end or are cut through with a peak from another layer like ours.
Step 4: Paint your lightest color on the top near the ceiling. This gives the illusion the scene goes off into the distance. Paint the darkest color on the bottom near the floor to show the mountains closest to you in the scene. Use the 2″ Flat brush to give you crisp edges and your small roller to fill in the rest of the area. Your center layer (labeled 3) will not need to be painted! See your over halfway done!
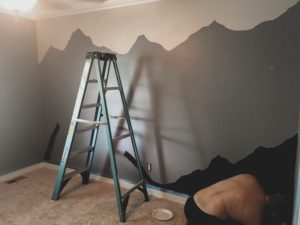
Step 5: Get to mixing! This is where those solo cups come in handy- they help keep that mess down. Start with your second lightest color. Start with a 50-50 ratio of your mid-tone (main wall color) and your light tone. I recommend putting a swatch on the wall and taking a walk back to see what you think. This is the easier one to mix and find that happy medium. For the darker tone start with filling the solo cup halfway with the mid-tone and adding in the dark tone by the small spoonfuls mixing each time. The dark seems to take much quicker so just swatch as you go until you get the perfect mix. Fill in your last 2 layers and touch up as you go.
Step 6: Sit back and marvel at your masterpiece! You can do it!
