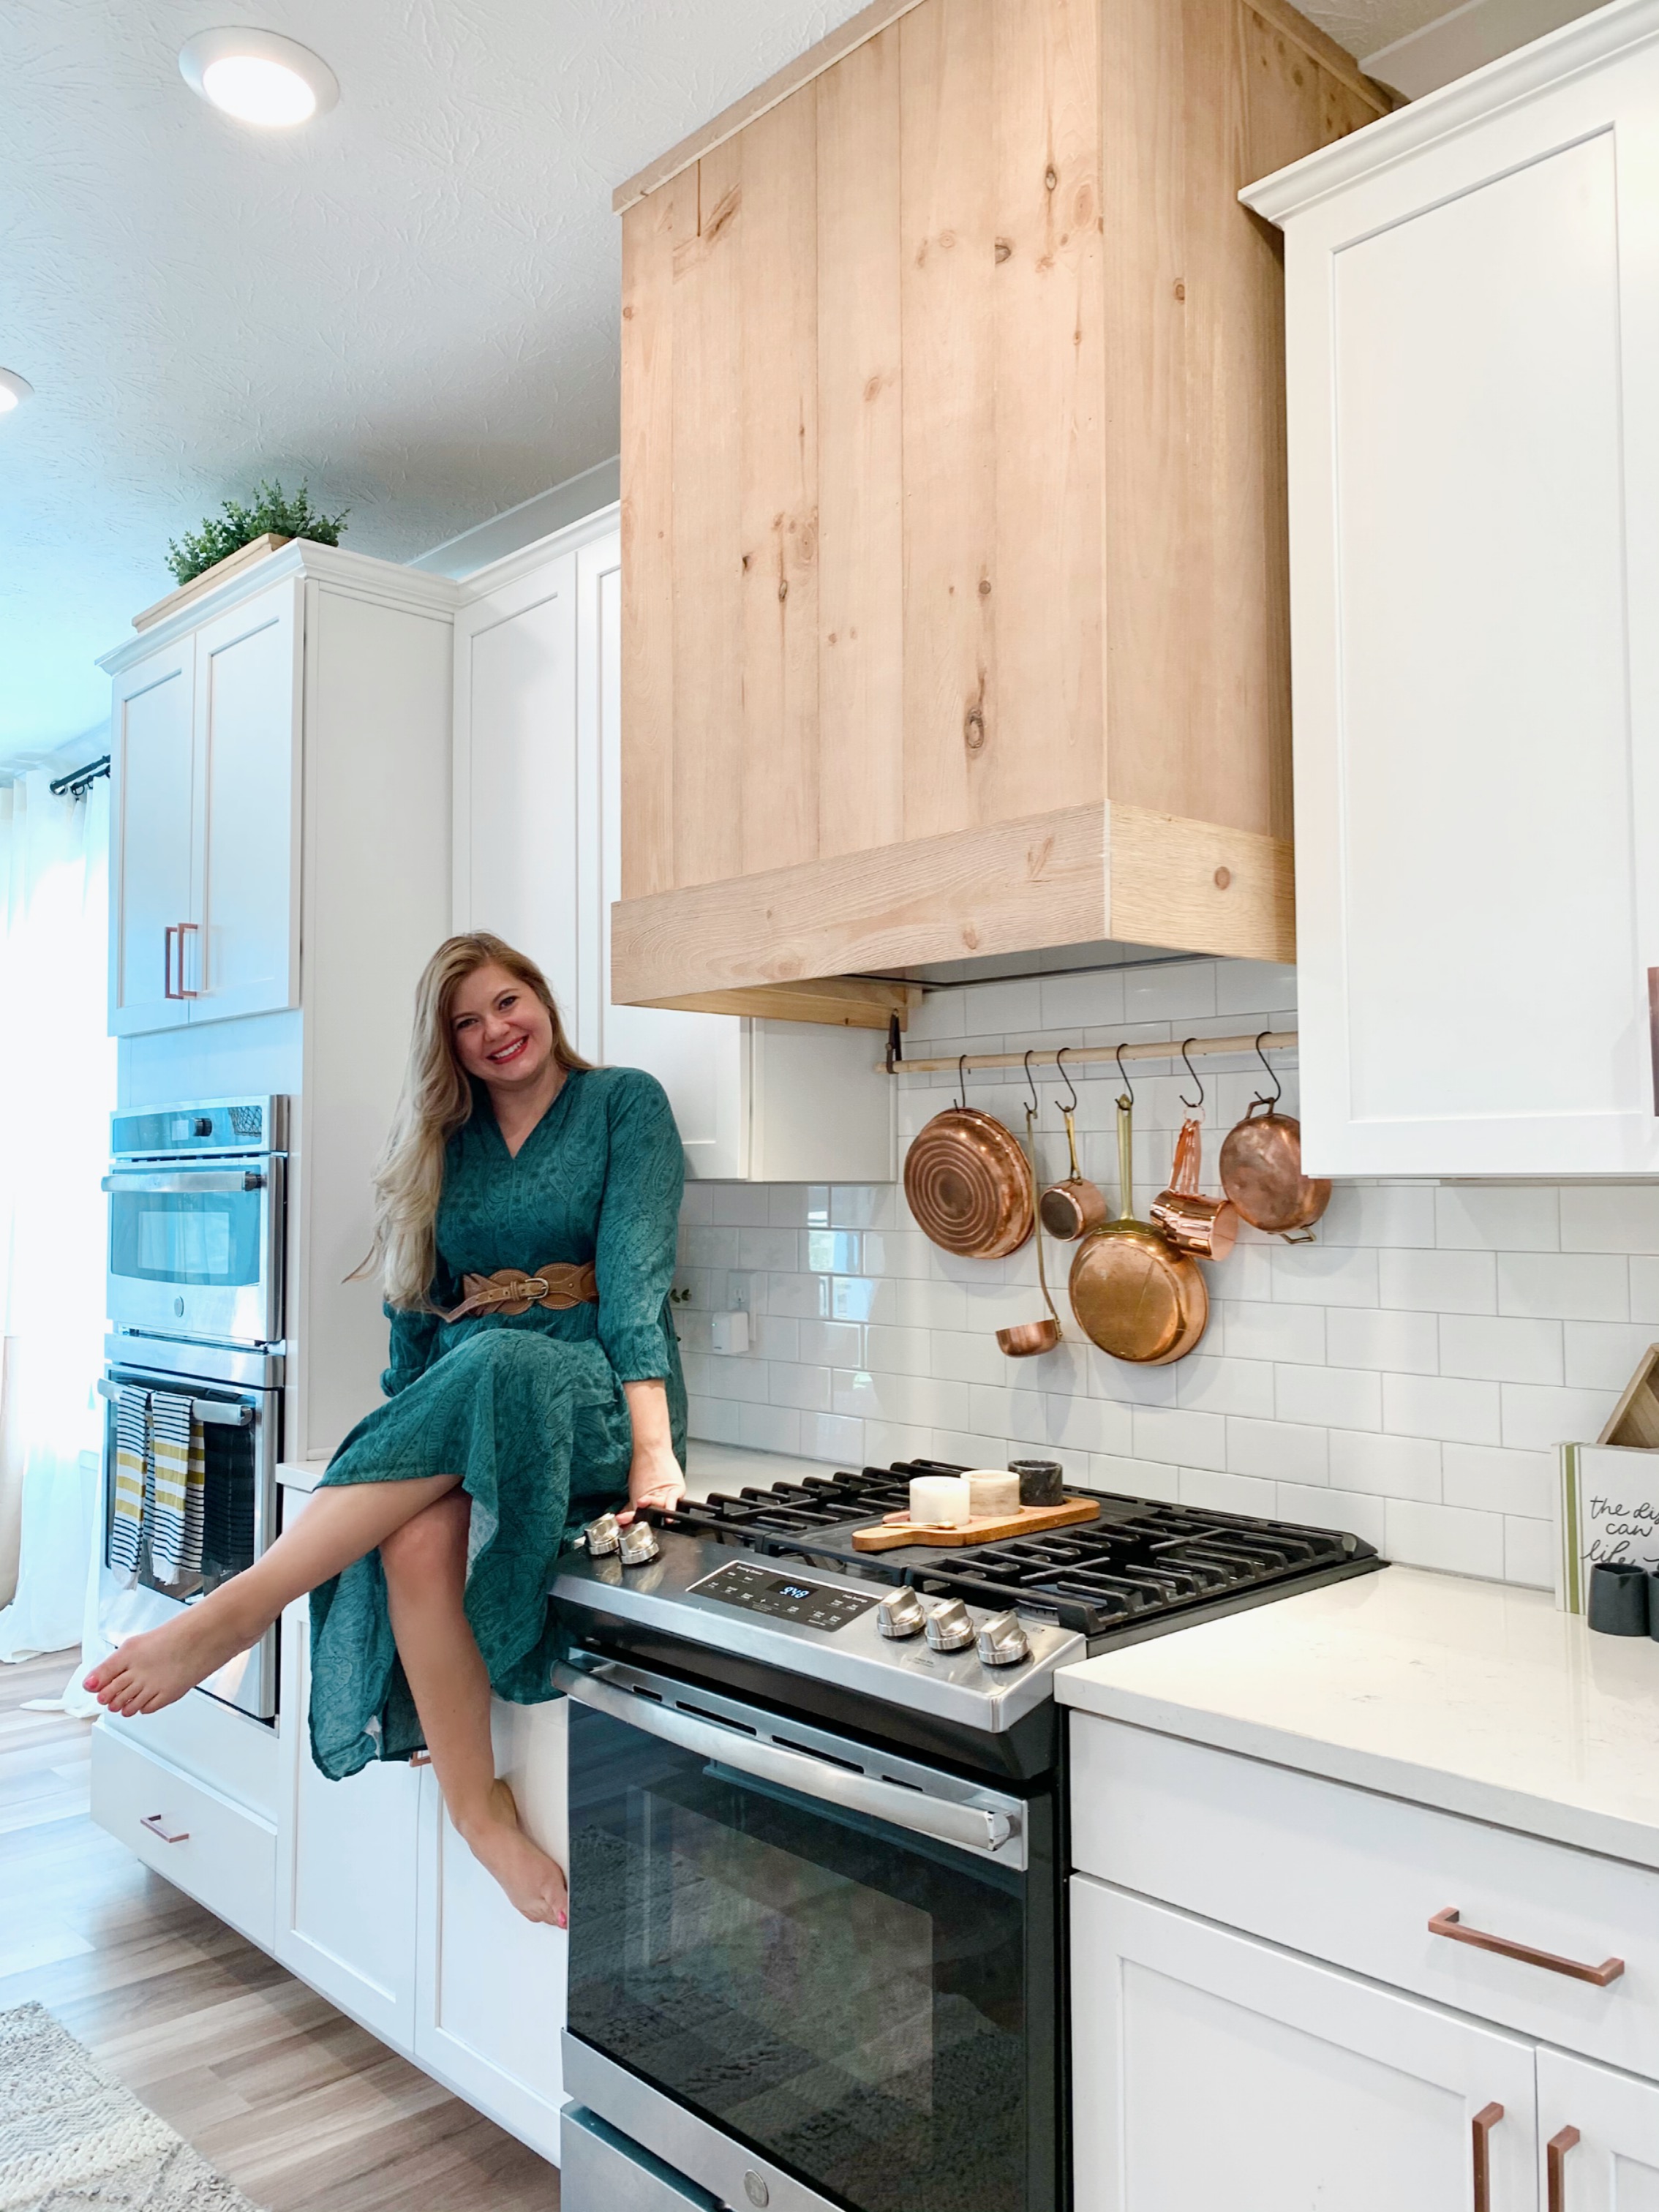
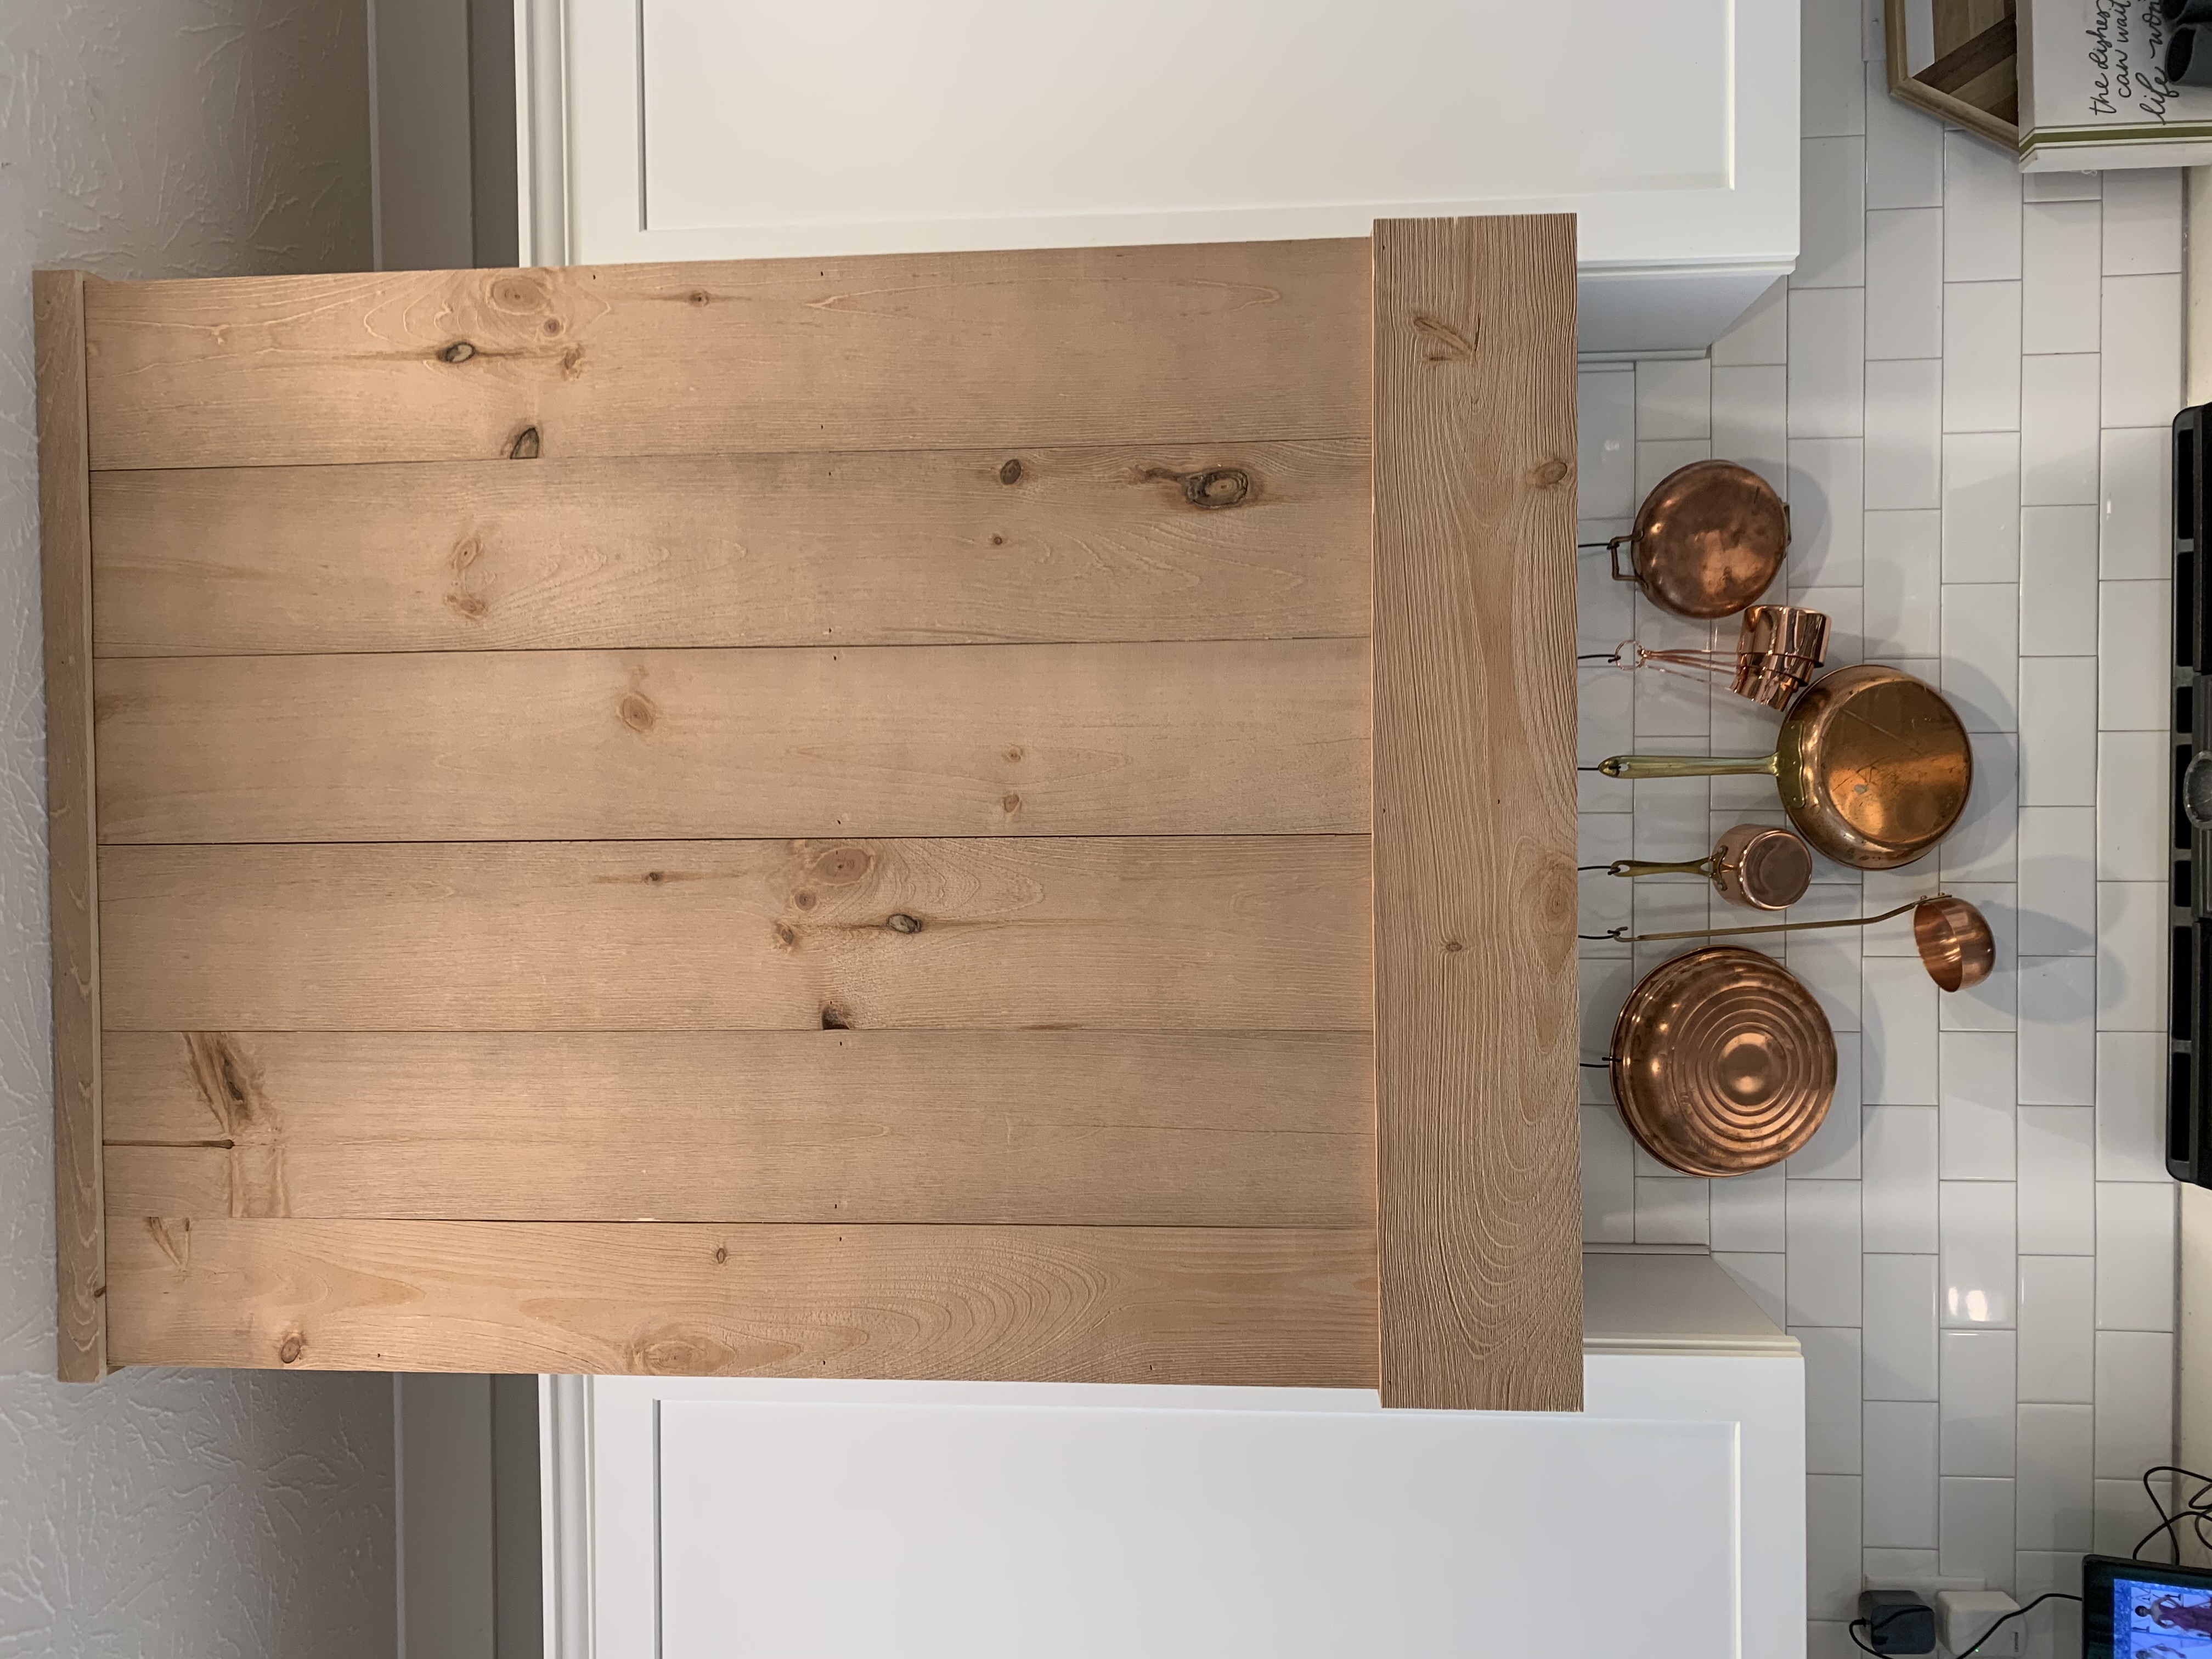
We finally took our builder grade metal range hood and gave it a custom look. Don’t get me wrong, there was nothing wrong with it before- but it was definitely more of a sleek modern look and I needed some wood warmth to go with the copper in my kitchen! This project ended up being one of those weekend warrior projects with the husband and kids in tow. I had this project in my mind for a while and luckily my husband was on board to make it happen. Thank goodness my husband is always on board for an easy, inexpensive home project!
We knew the perfect material for the job were some wall boards from American Planking brand found at Menards that we have used on previous projects. This made the whole process a lot smoother since we didn’t need to finish, paint, or stain the boards on the surface of the hood. The other think that was great is that these boards were all perfectly level and the same size. I am always for adding more character to the home. I had been collecting vintage copper pans for some time and knew that this project would allow me to feature them in a unique way above the stove. We got this bad boy done in 2 days- in between outside play time with the kiddos- and couldn’t be happier!
Tools and Materials:
- Click on underlined items for direct links!
- American Pacific 5-1/2″ x 47-1/2″ Lodgewood Harvest Wall Plank (we used 2 boxes for this project)
- 6 total 1×4 Pine Boards 6” Length (to build your frame that will be mounted to the ceiling)
- Poplar Round Dowel
- Finish Trim Nails
- Caulk
- Wood Filler
- Miter Saw (prefer Ridgid brand)
- Finish Nailer (prefer Ridgid brand)
Accessories and Decor Sources:
- Click on underlined items for direct links!
- Vintage Copper Pots (Thrifted, Etsy is a great source!)
- Metal Hooks (Amazon)
- Copper Faucet (Amazon)
- Cabinet Hardware (Amazon)
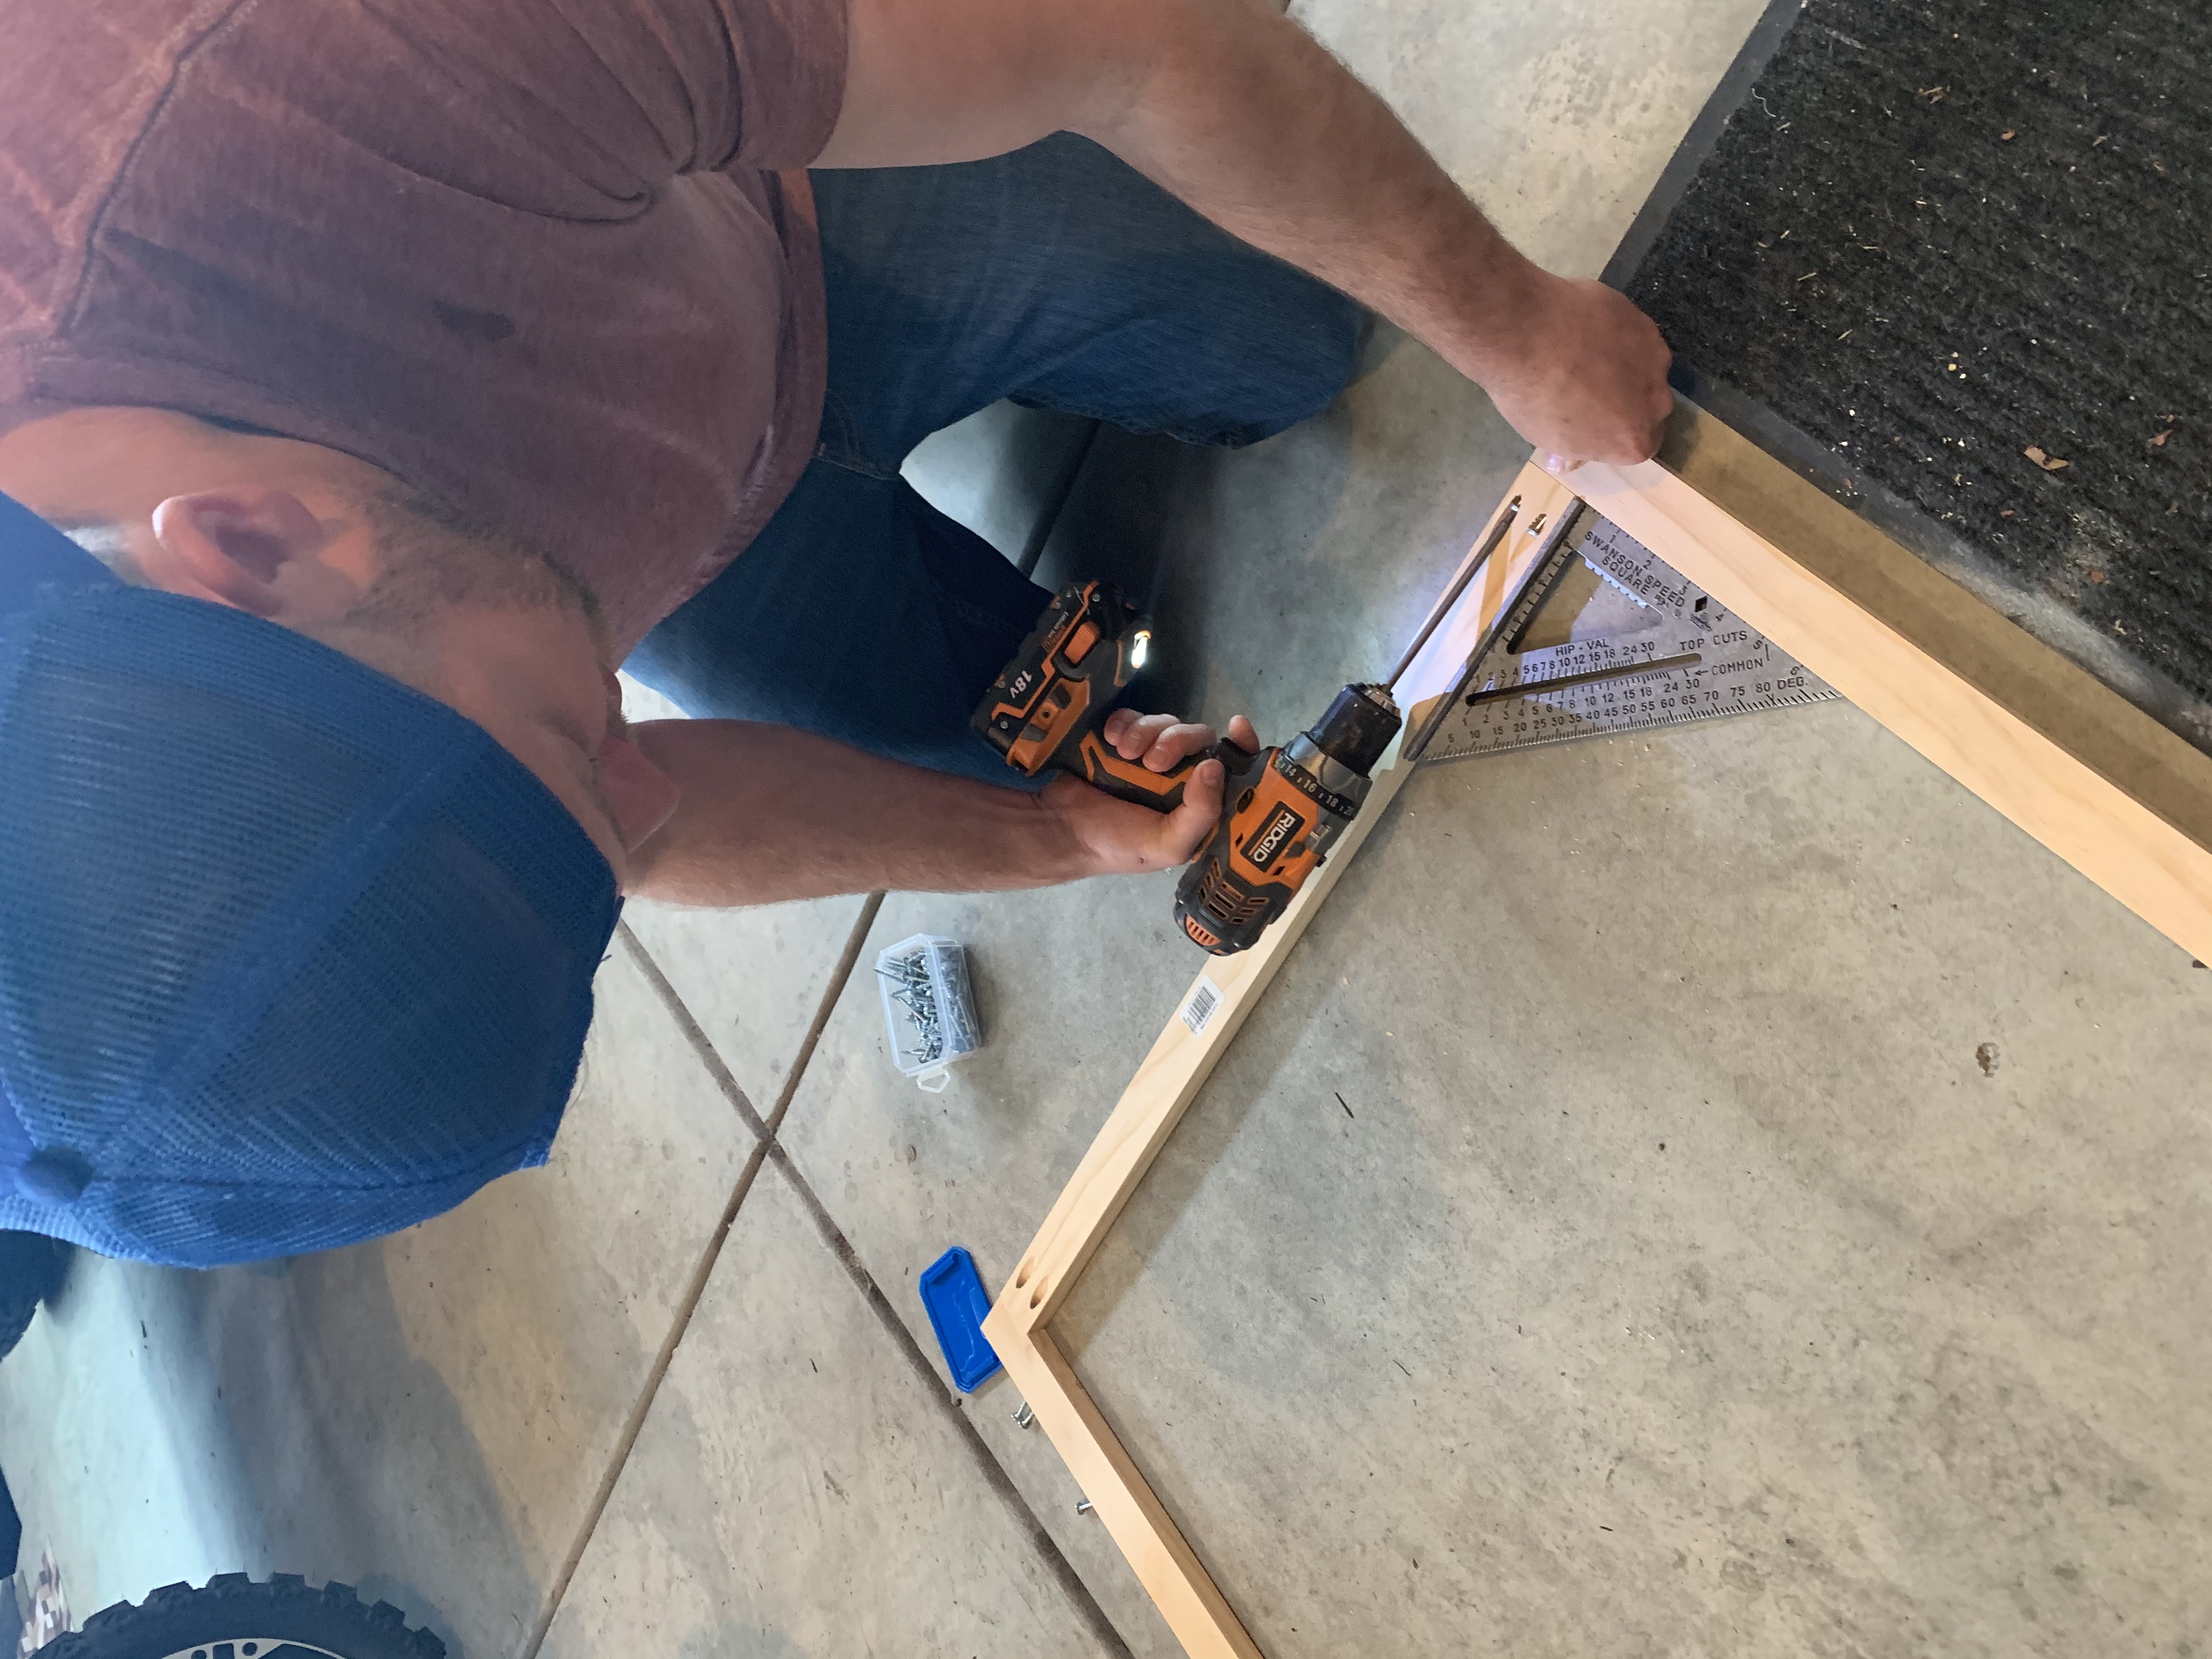
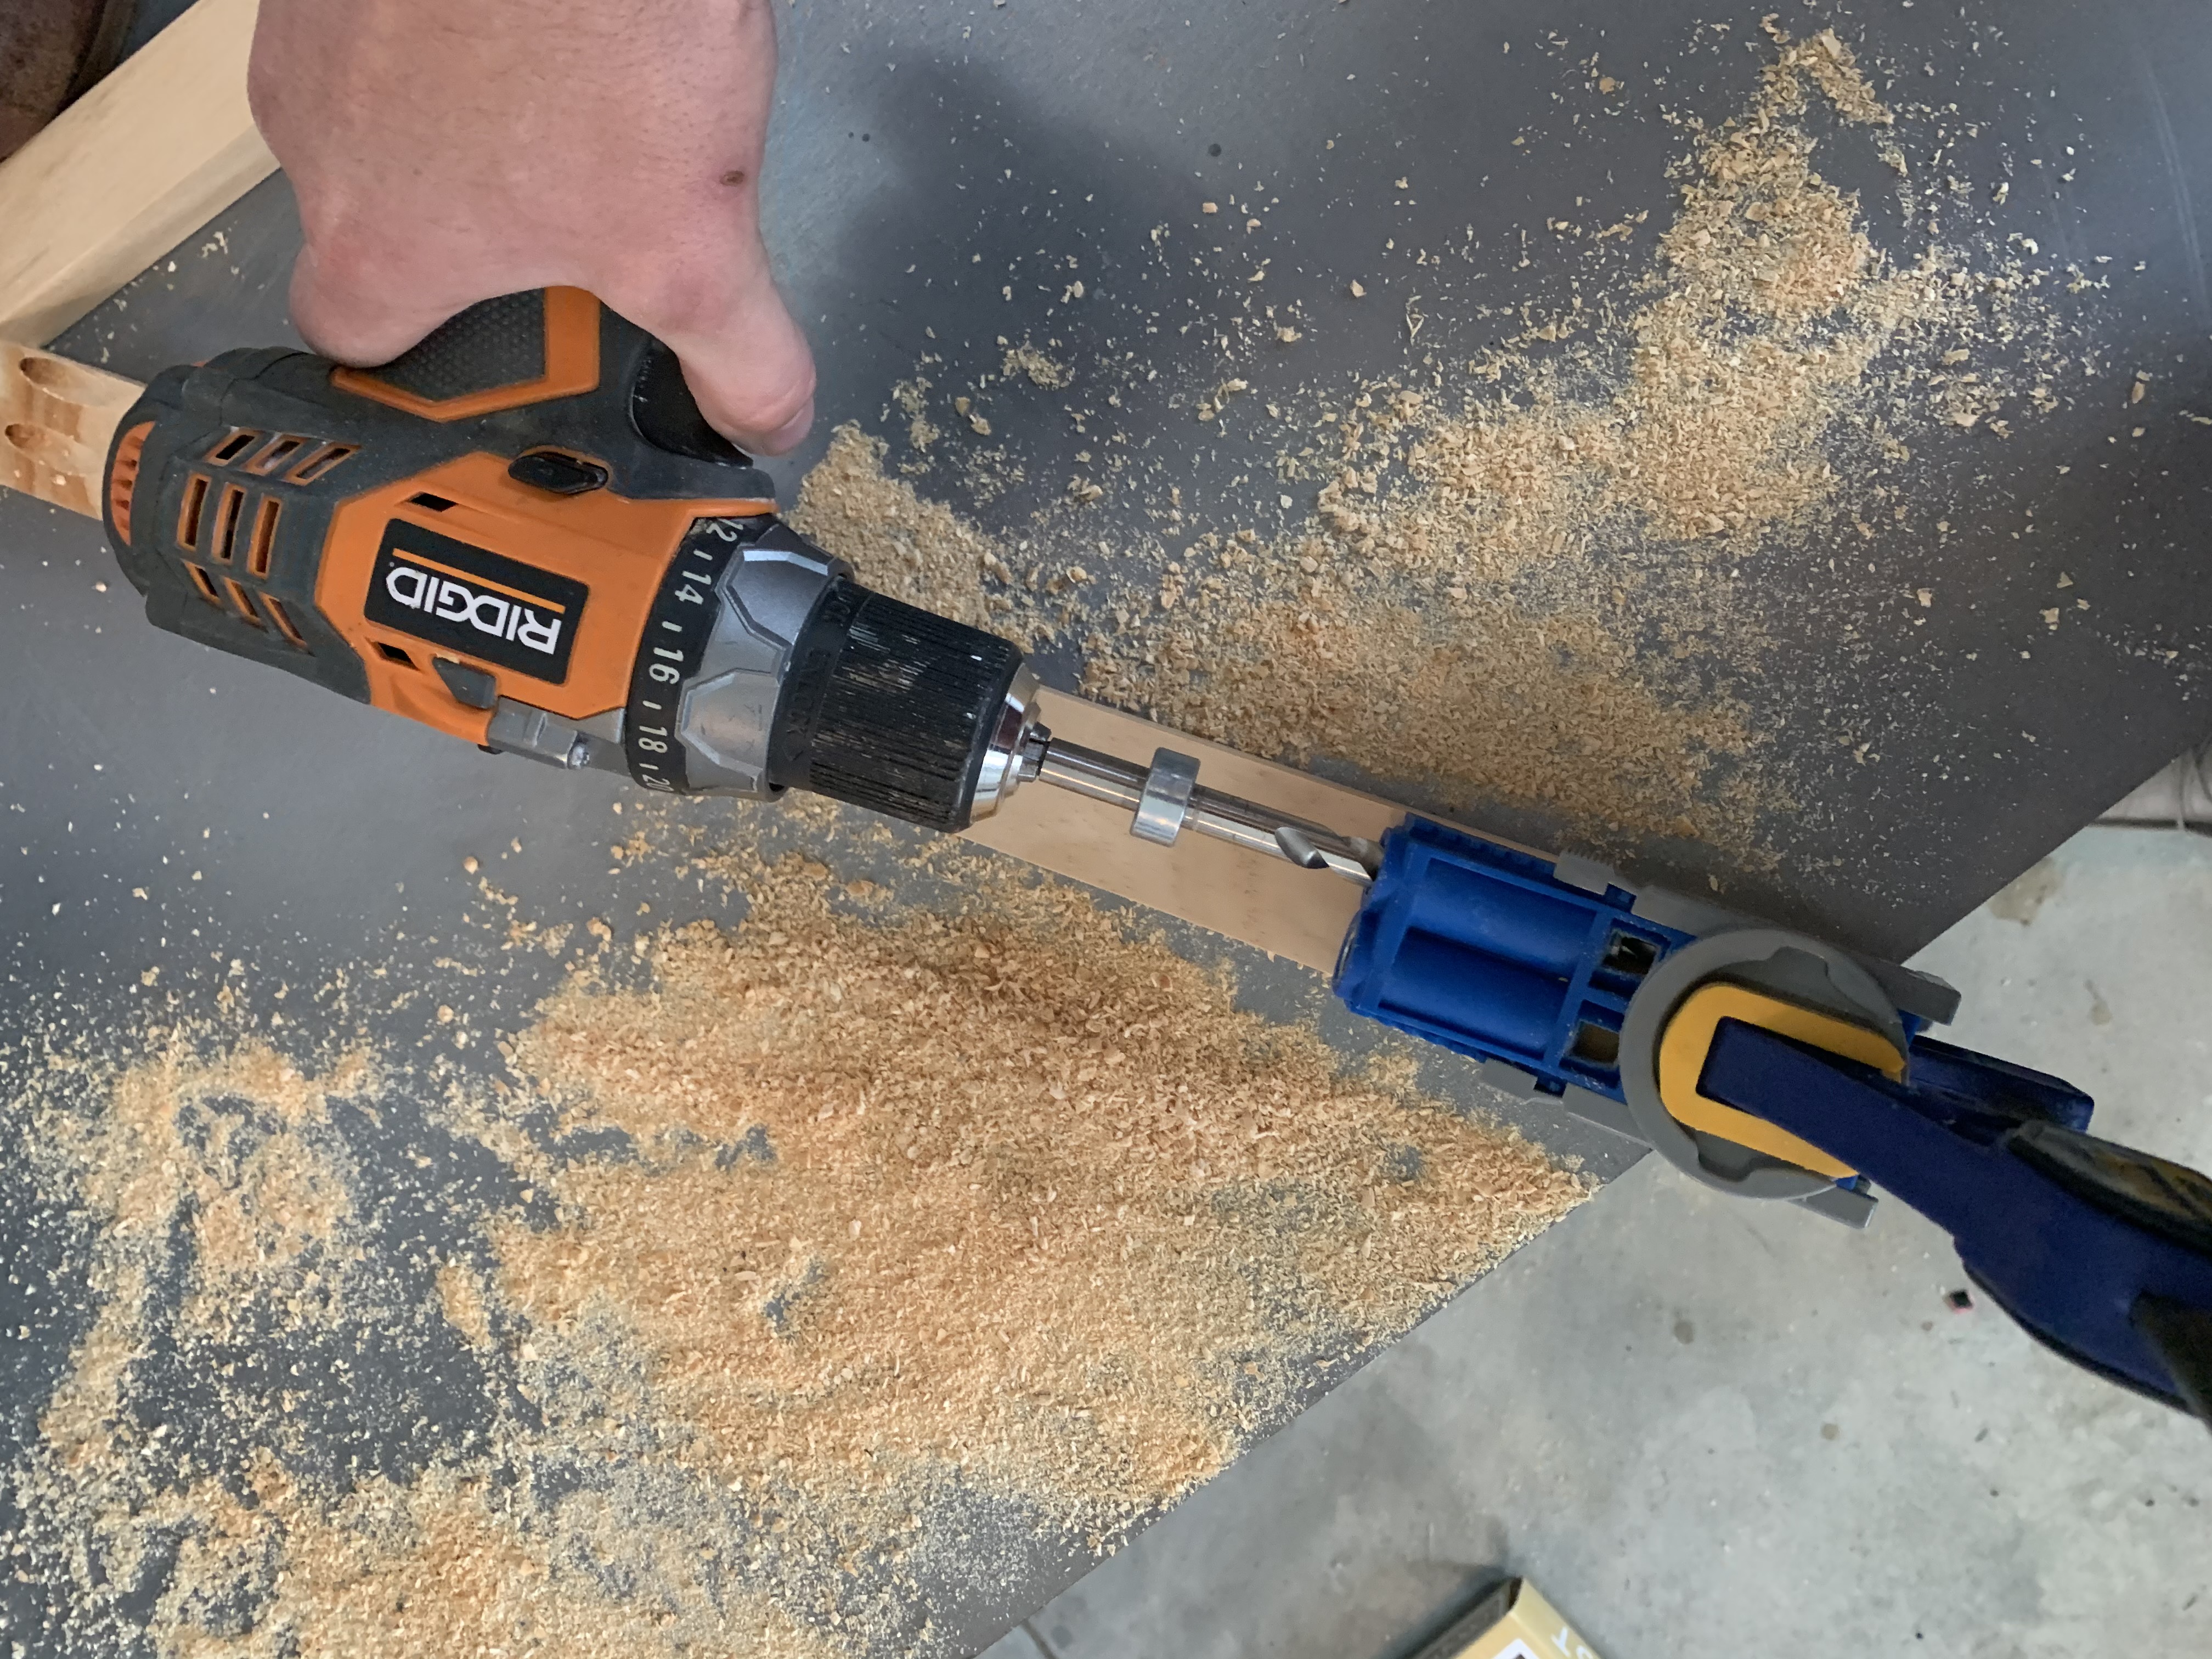
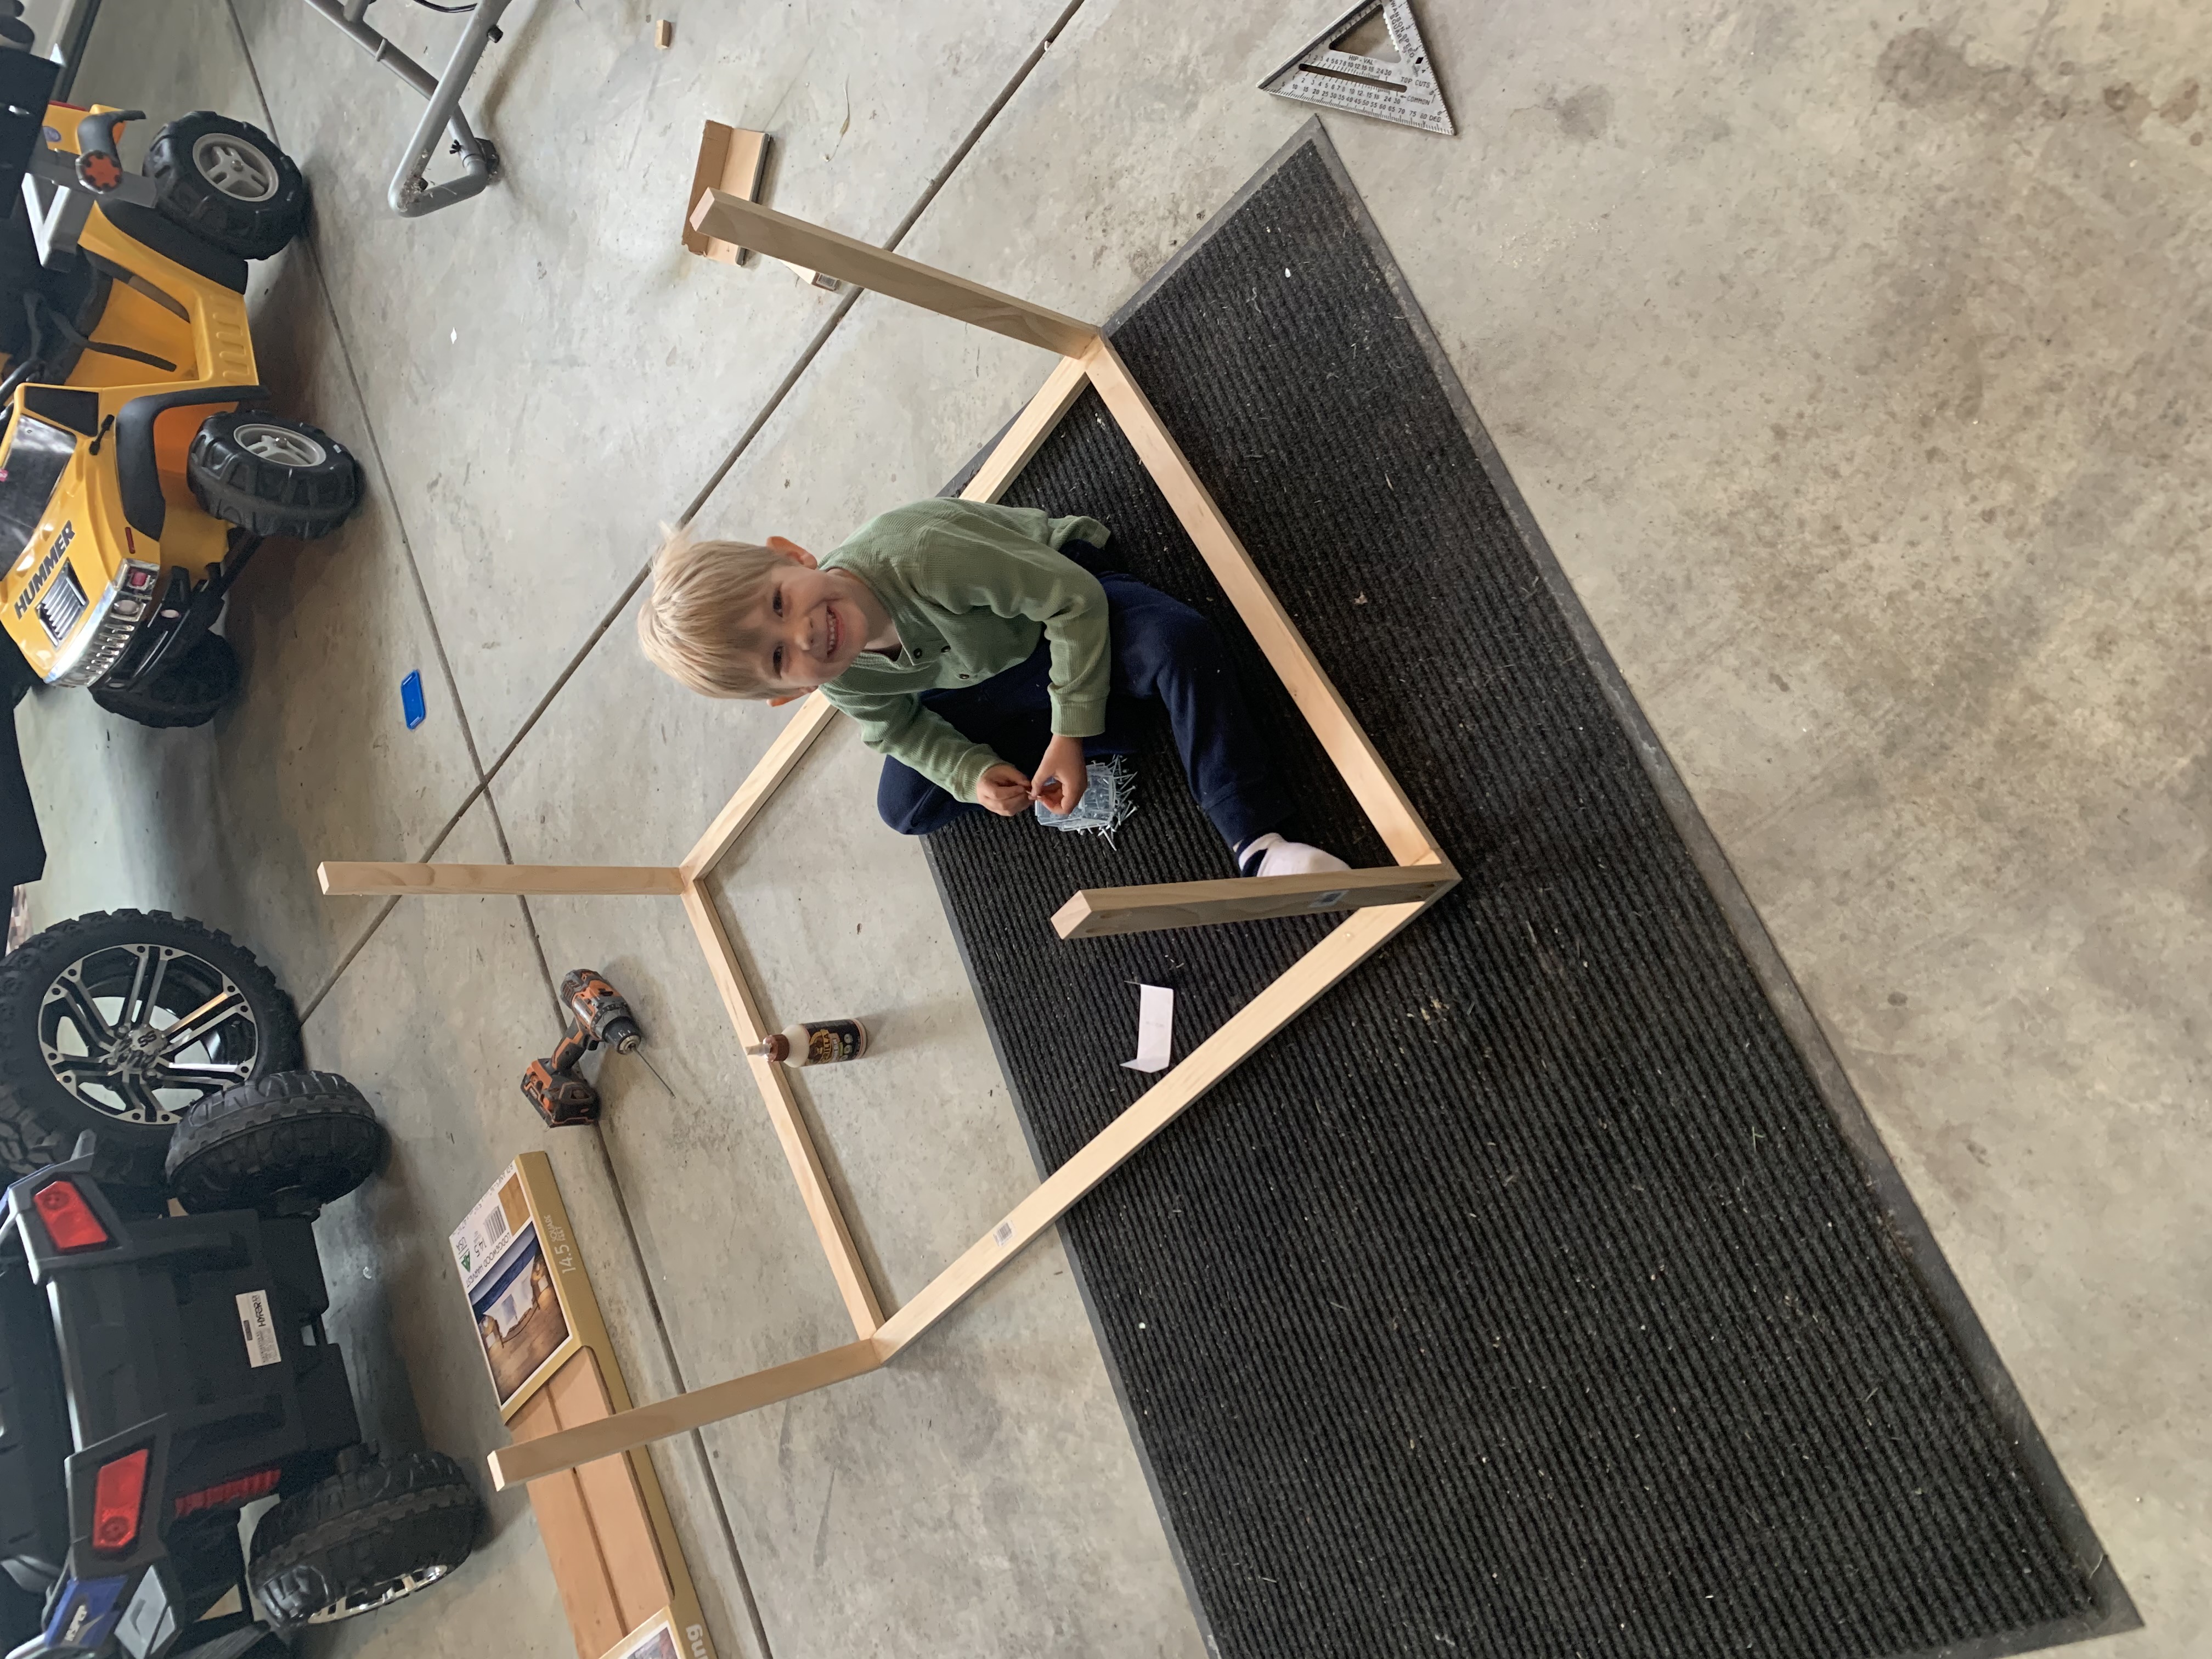
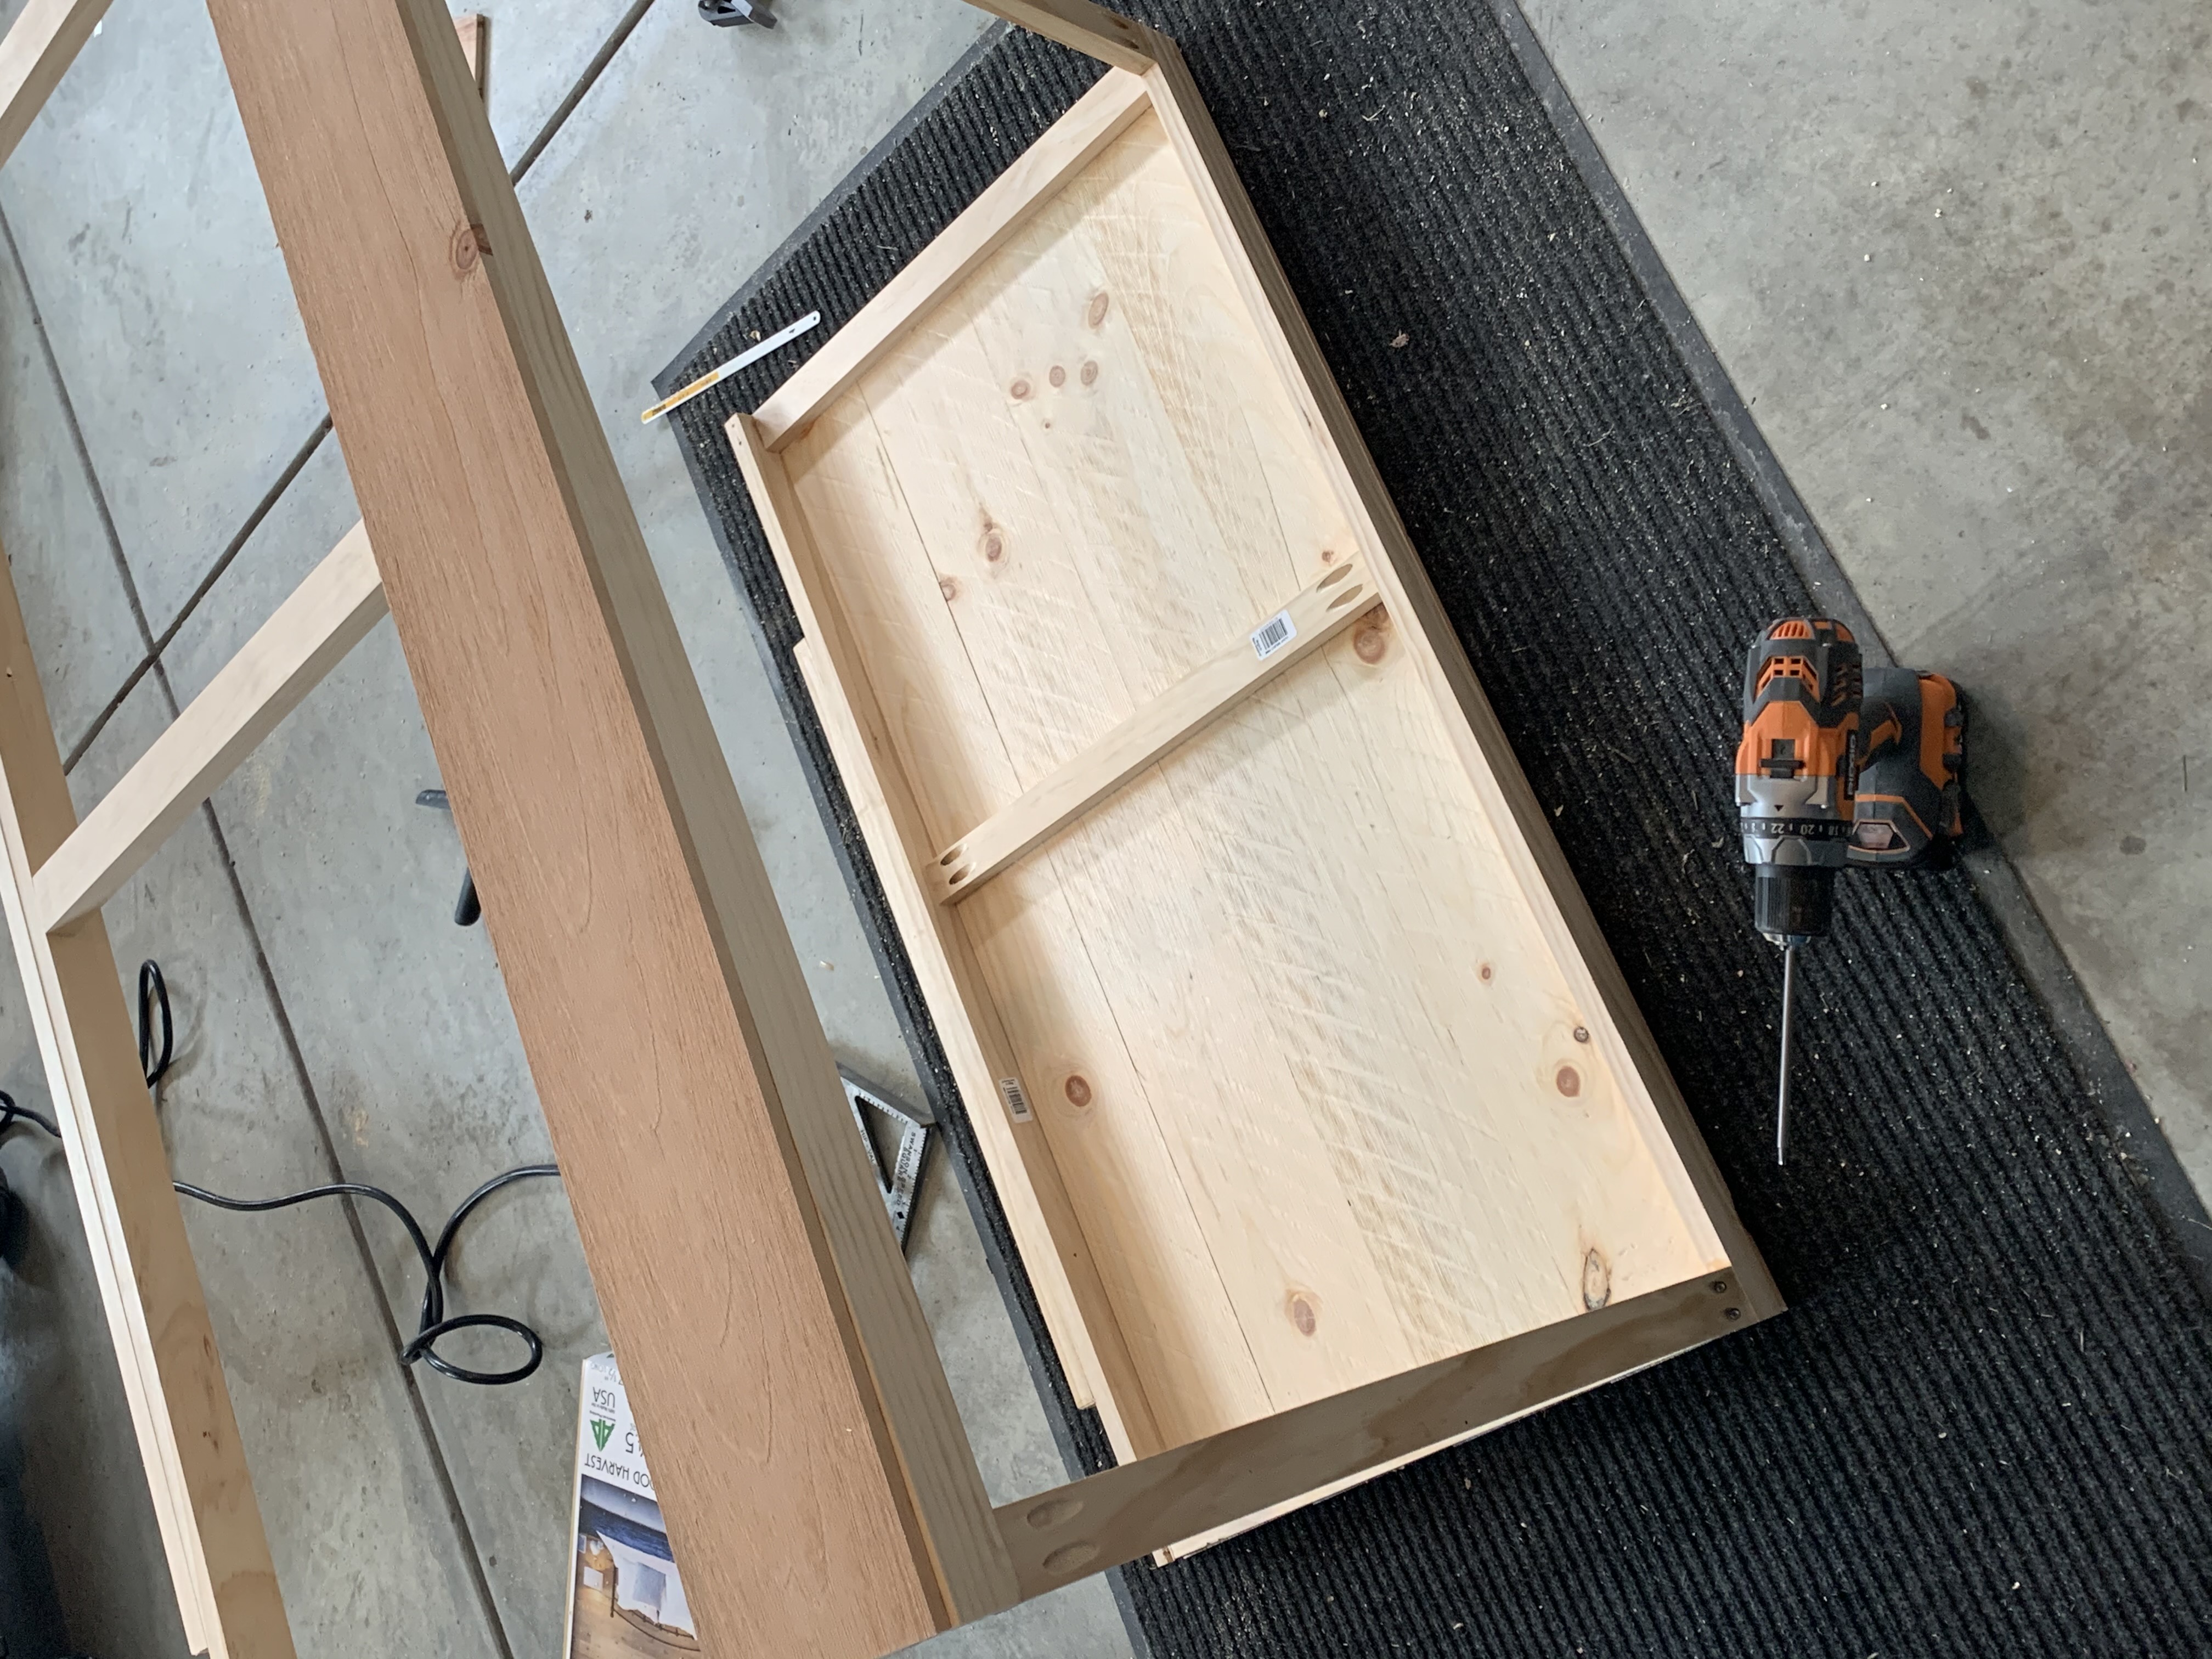
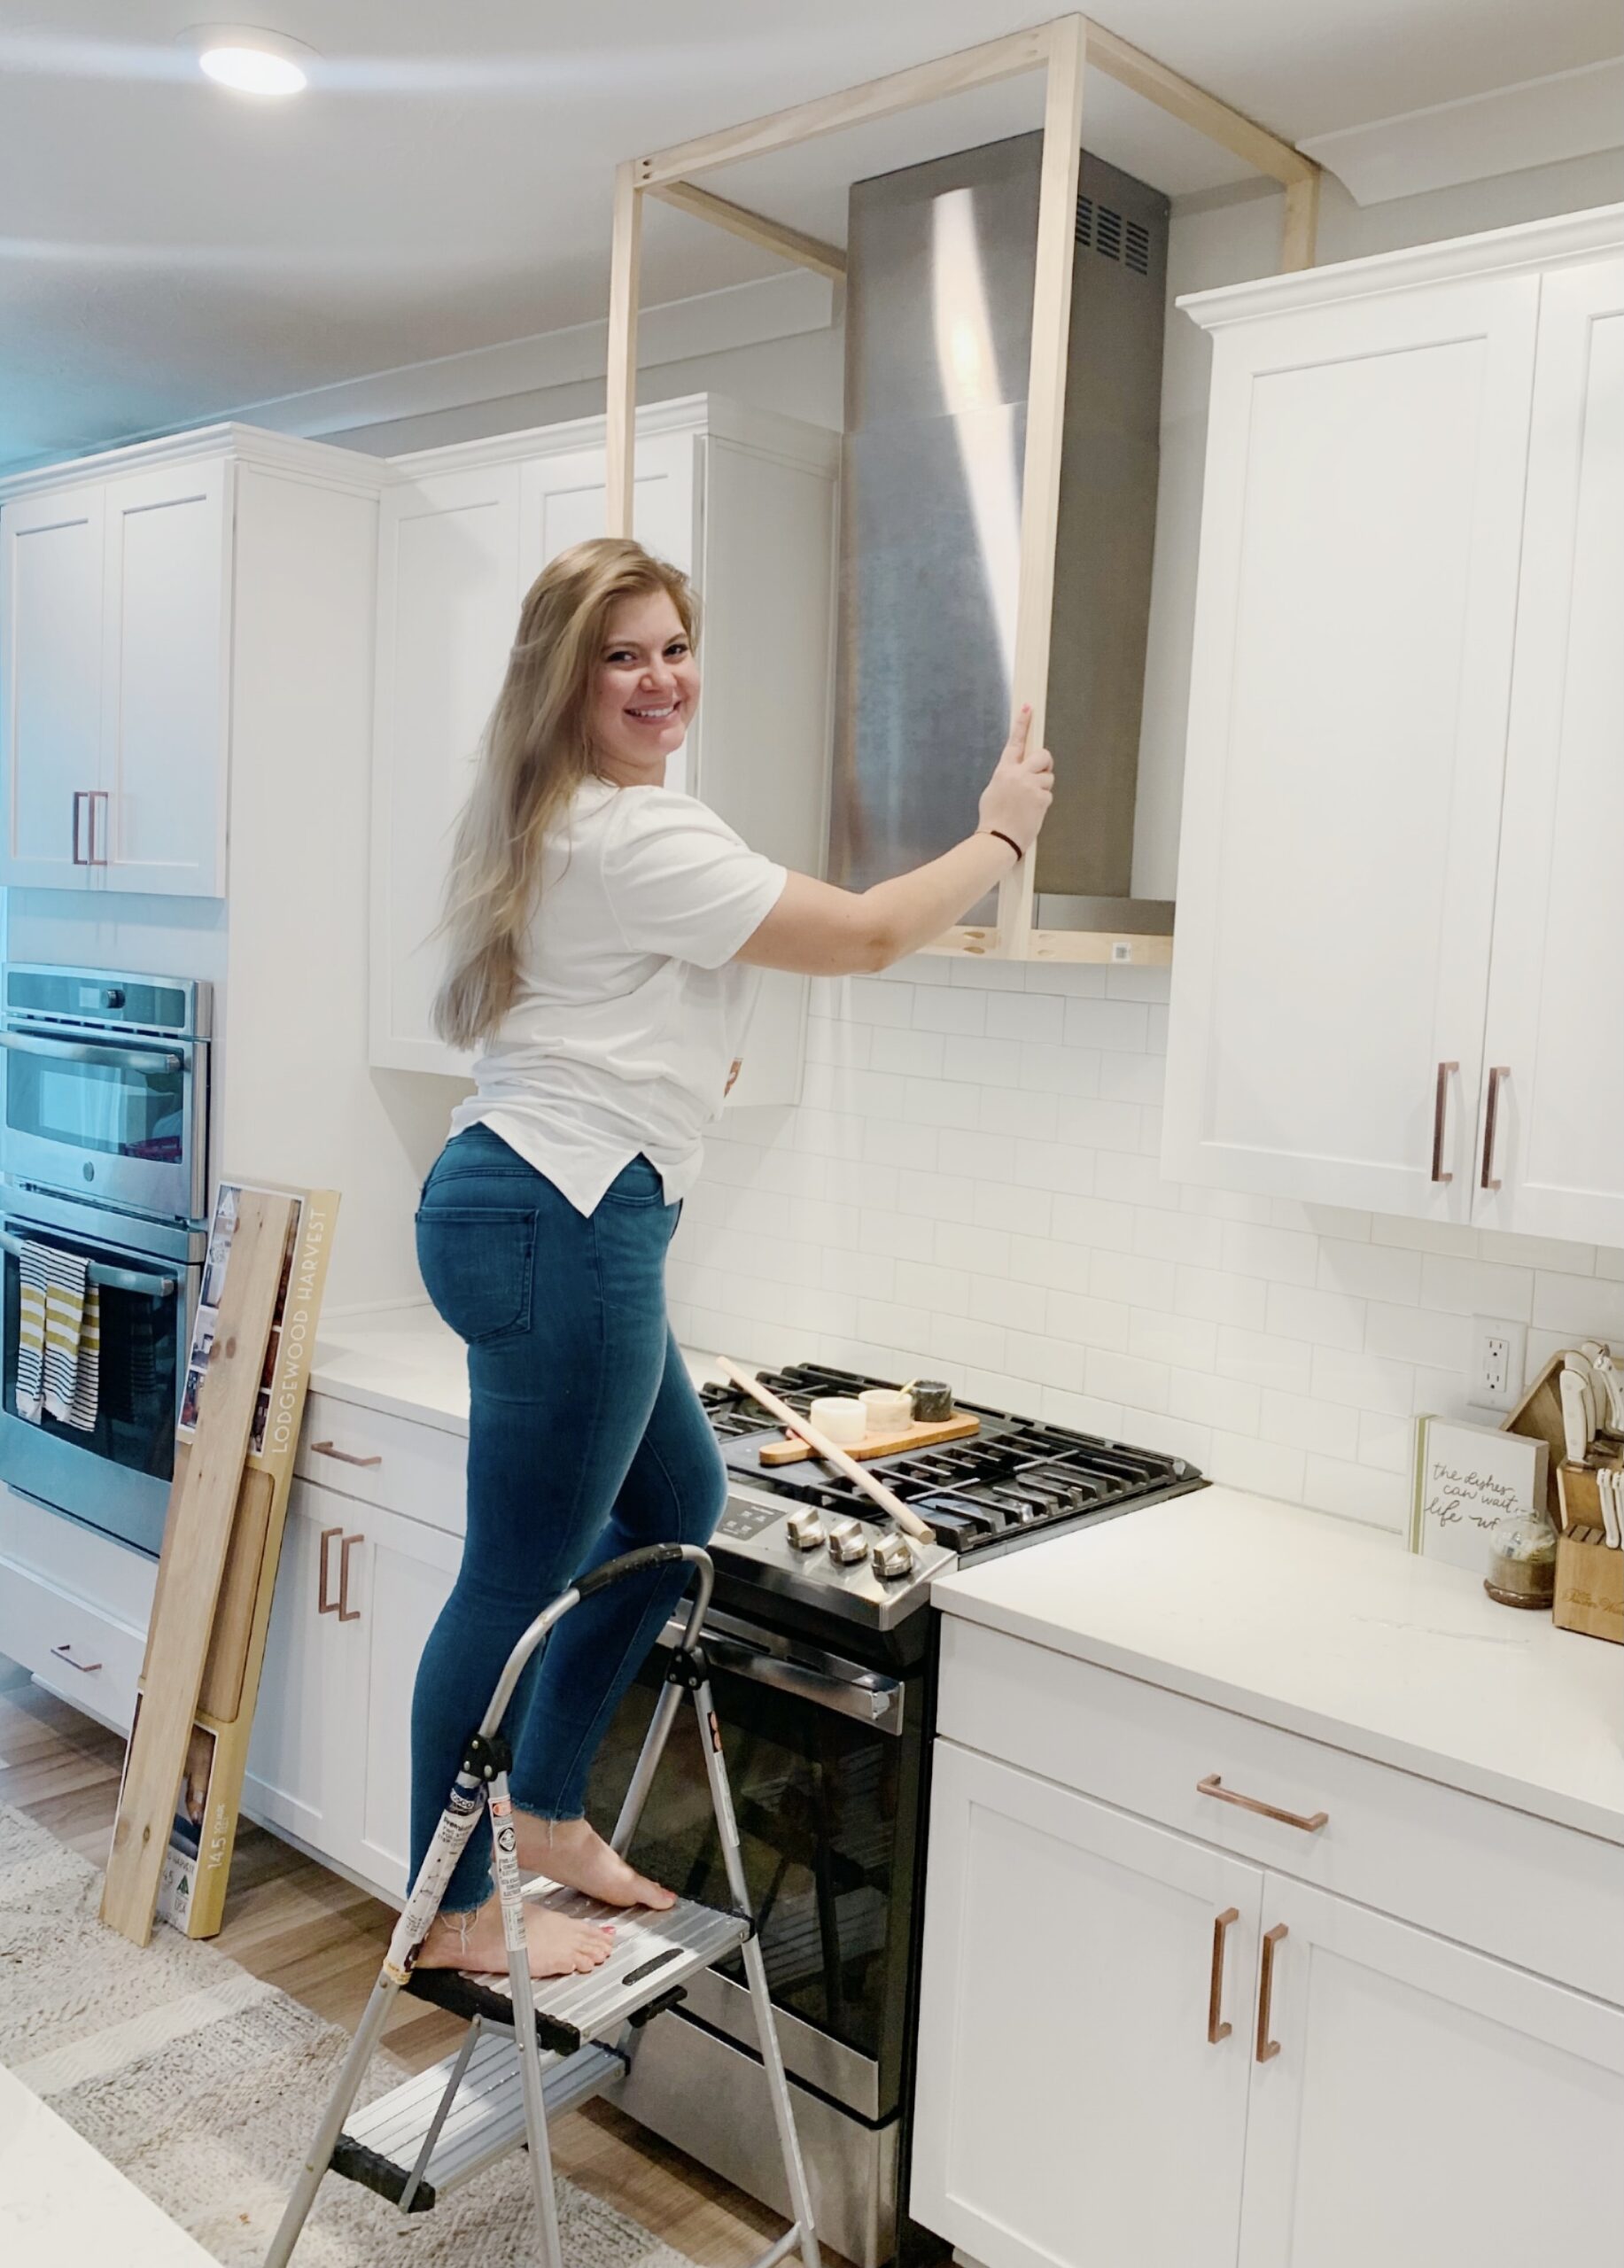
The steps were very simple for this project. We build a box frame out of 1×2 boards after taking measurements around the existing range hood. This gave us the framework to get a sturdy anchor to the ceiling and have a mounting frame for the wall planks. We used our pocket hole jig and drill to make sturdy and clean connections to attach the frame together. We flipped the board on the top of the frame horizontally so there was more surface area to mount to the ceiling. Make sure to keep into account any existing ceiling trim and cabinet trim overhang when measuring to save heartache! If we ever have a change of heart (though I doubt we will) in the future this will be an easy take-down.
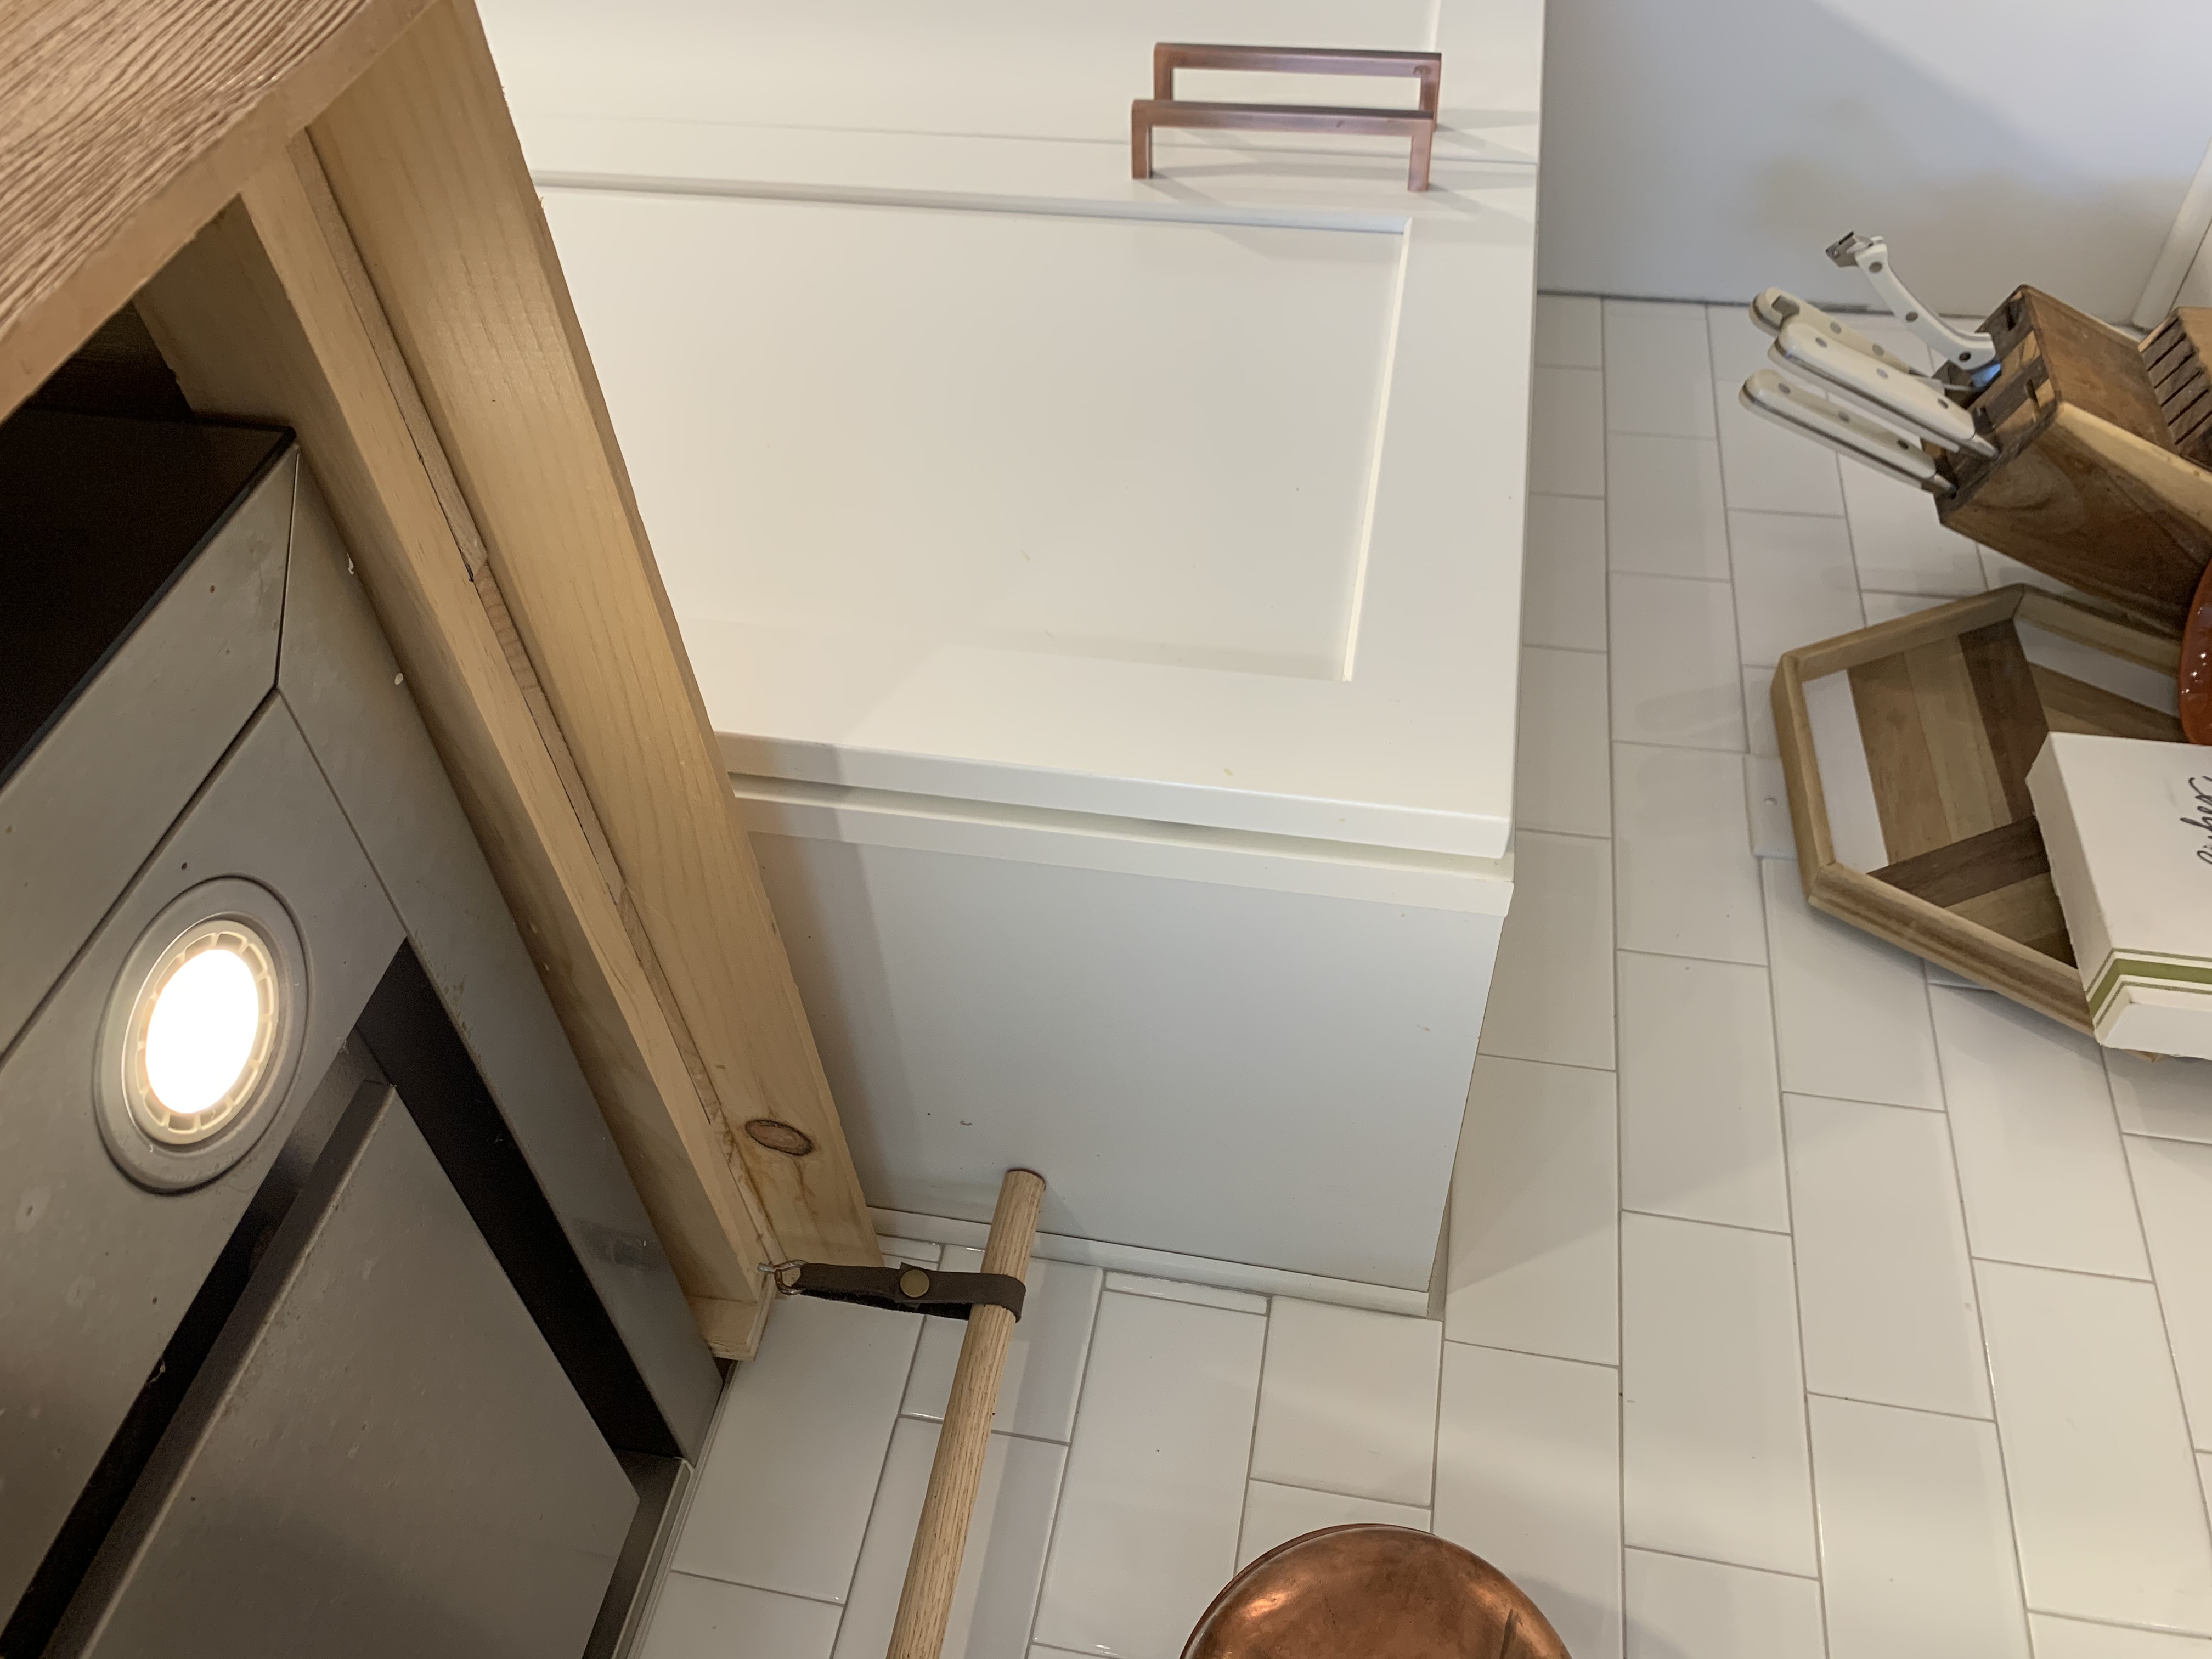
We also made sure to leave a few inches open behind the front of the frame so that we are still able to use the touch screen on the range hood. We placed the boards on the frame vertically using wood glue and a nail gun while leaving an 1.5 inch overhang so that the frame was less visible. After the boards were mounted to the frame we used some extra pieces to frame out the top and the bottom to give it a more finished look.
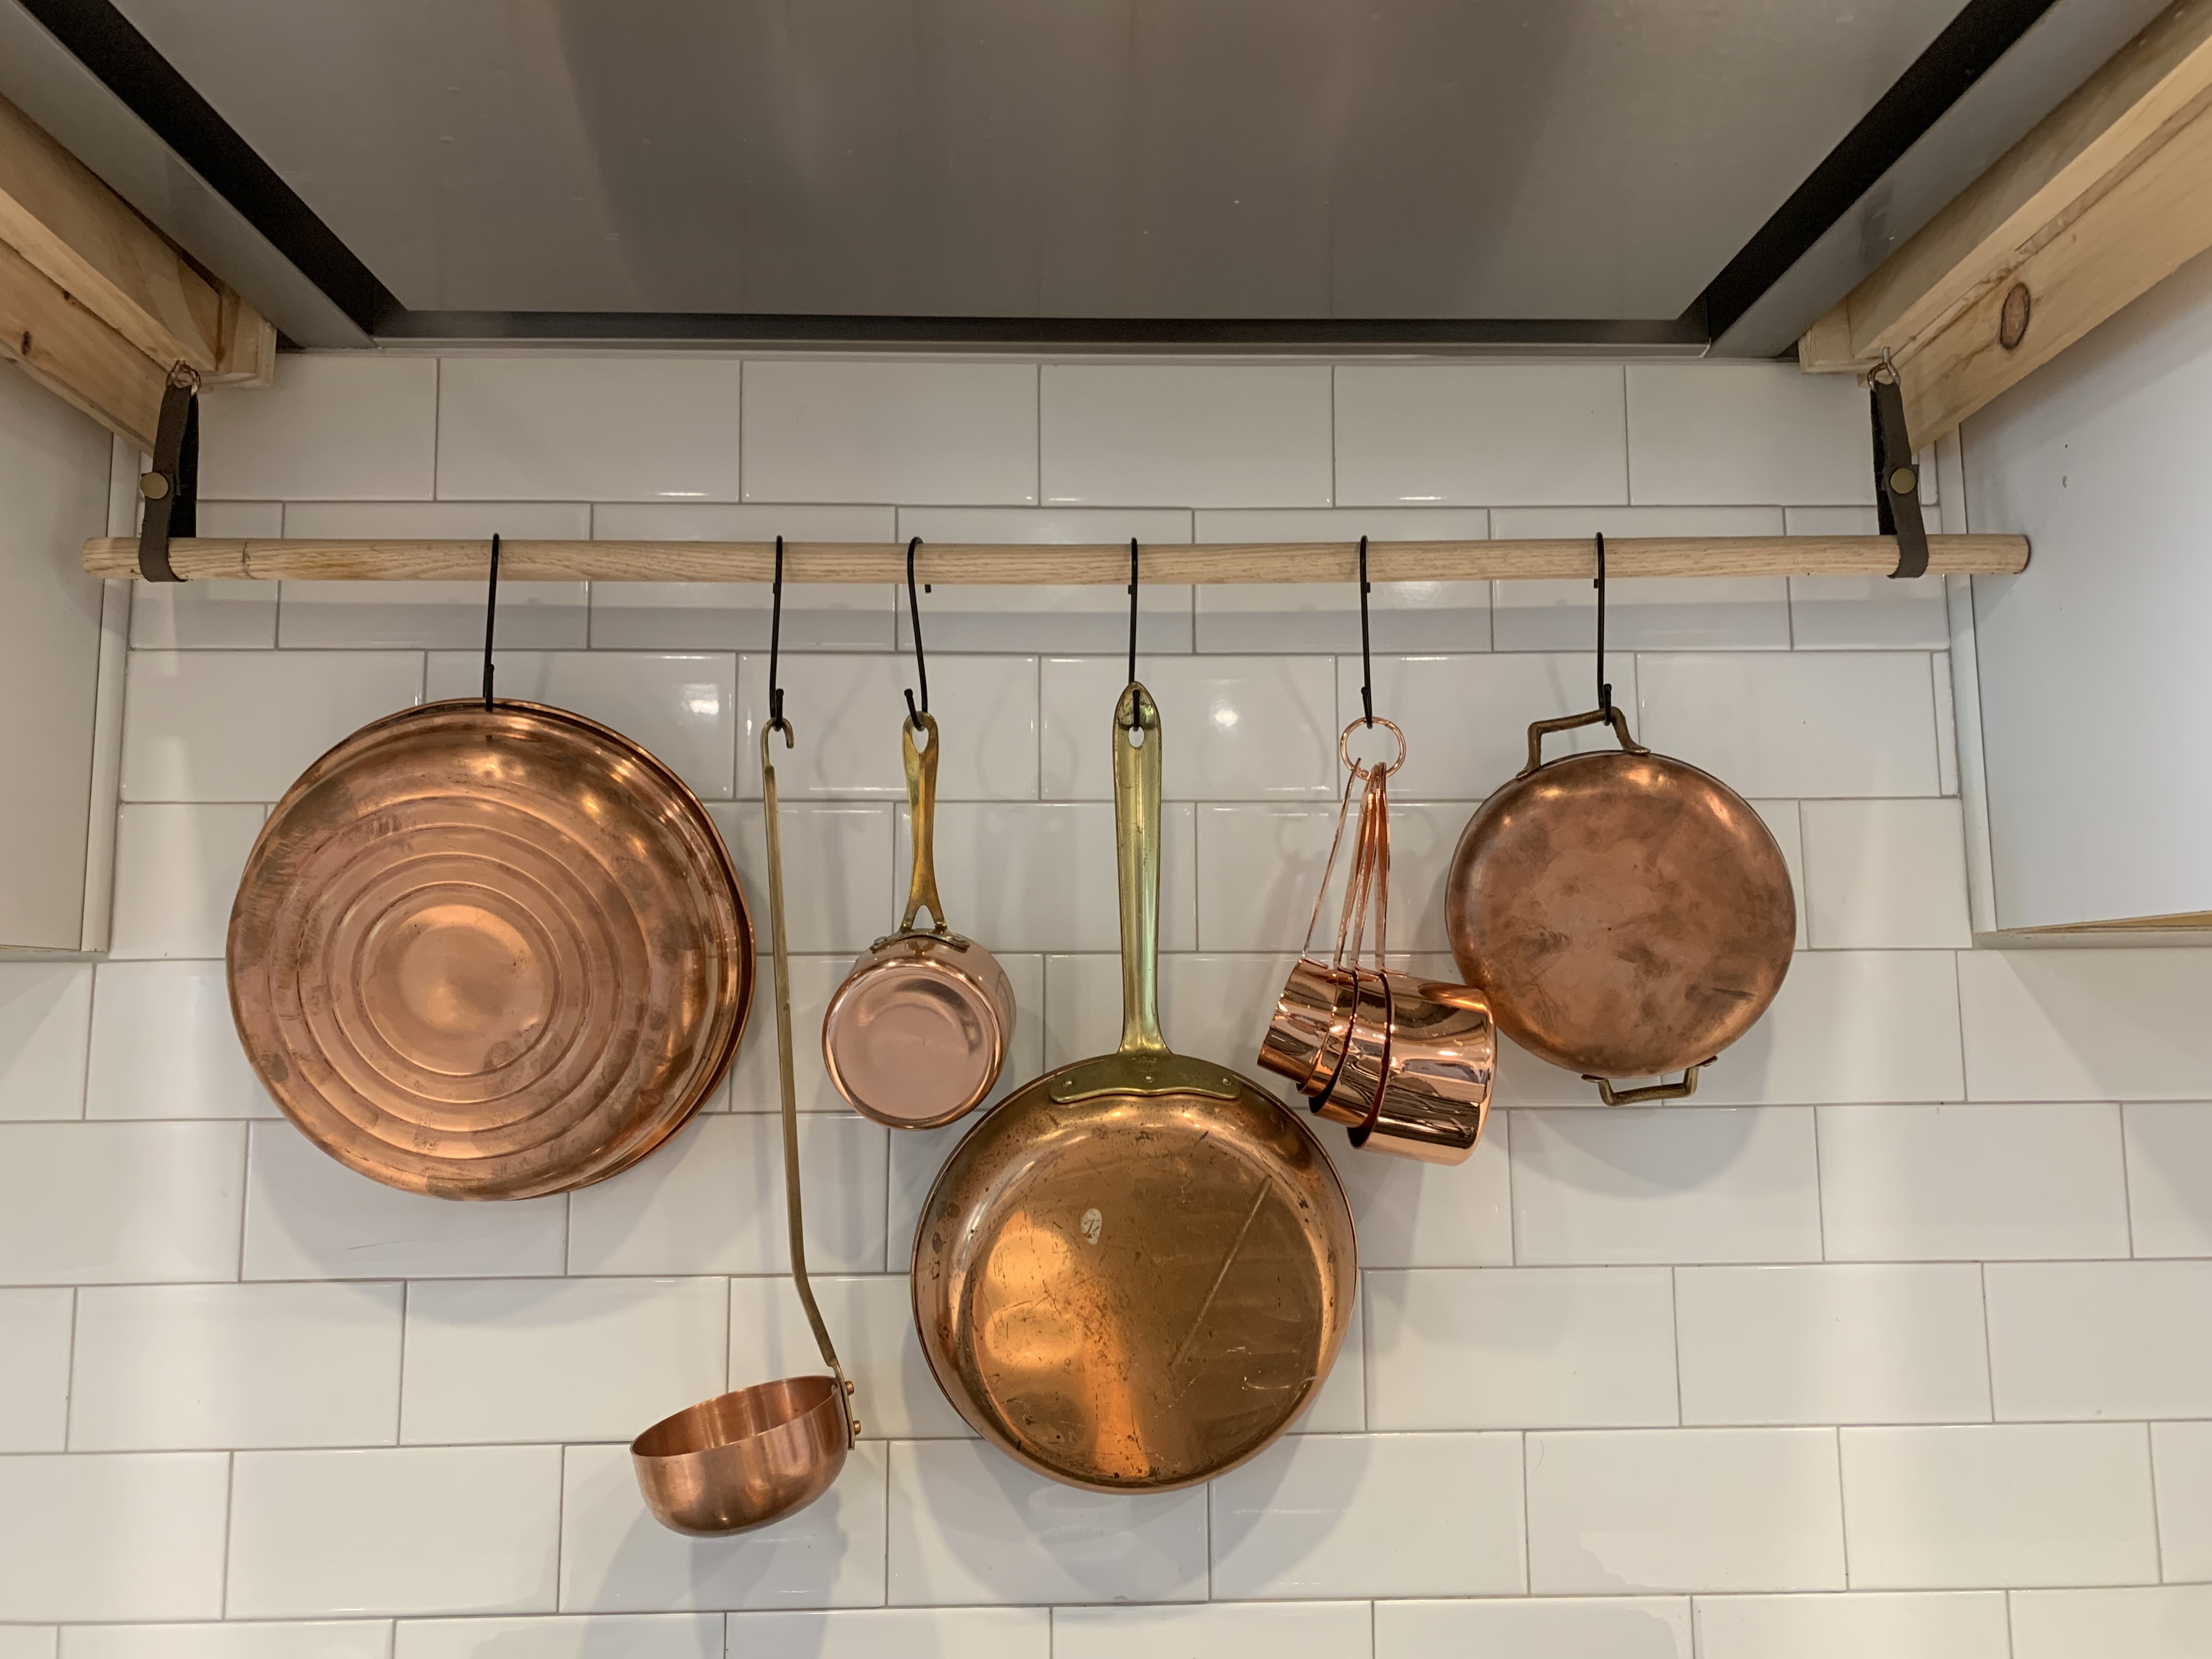
The pan rack is probably my favorite part of this transformation because I am able to finally display some vintage copper pans I have been hoarding! I used eye-screws mounted directly into the frame and some scrap leather to hang the dowel rod at a good height.
This was an easy update that overall added so much character and warmth to the kitchen. It has more of a custom feel and goes with the rest of our home. Let me know if you have ever done something like this before and if you’re a copper lover like me!
