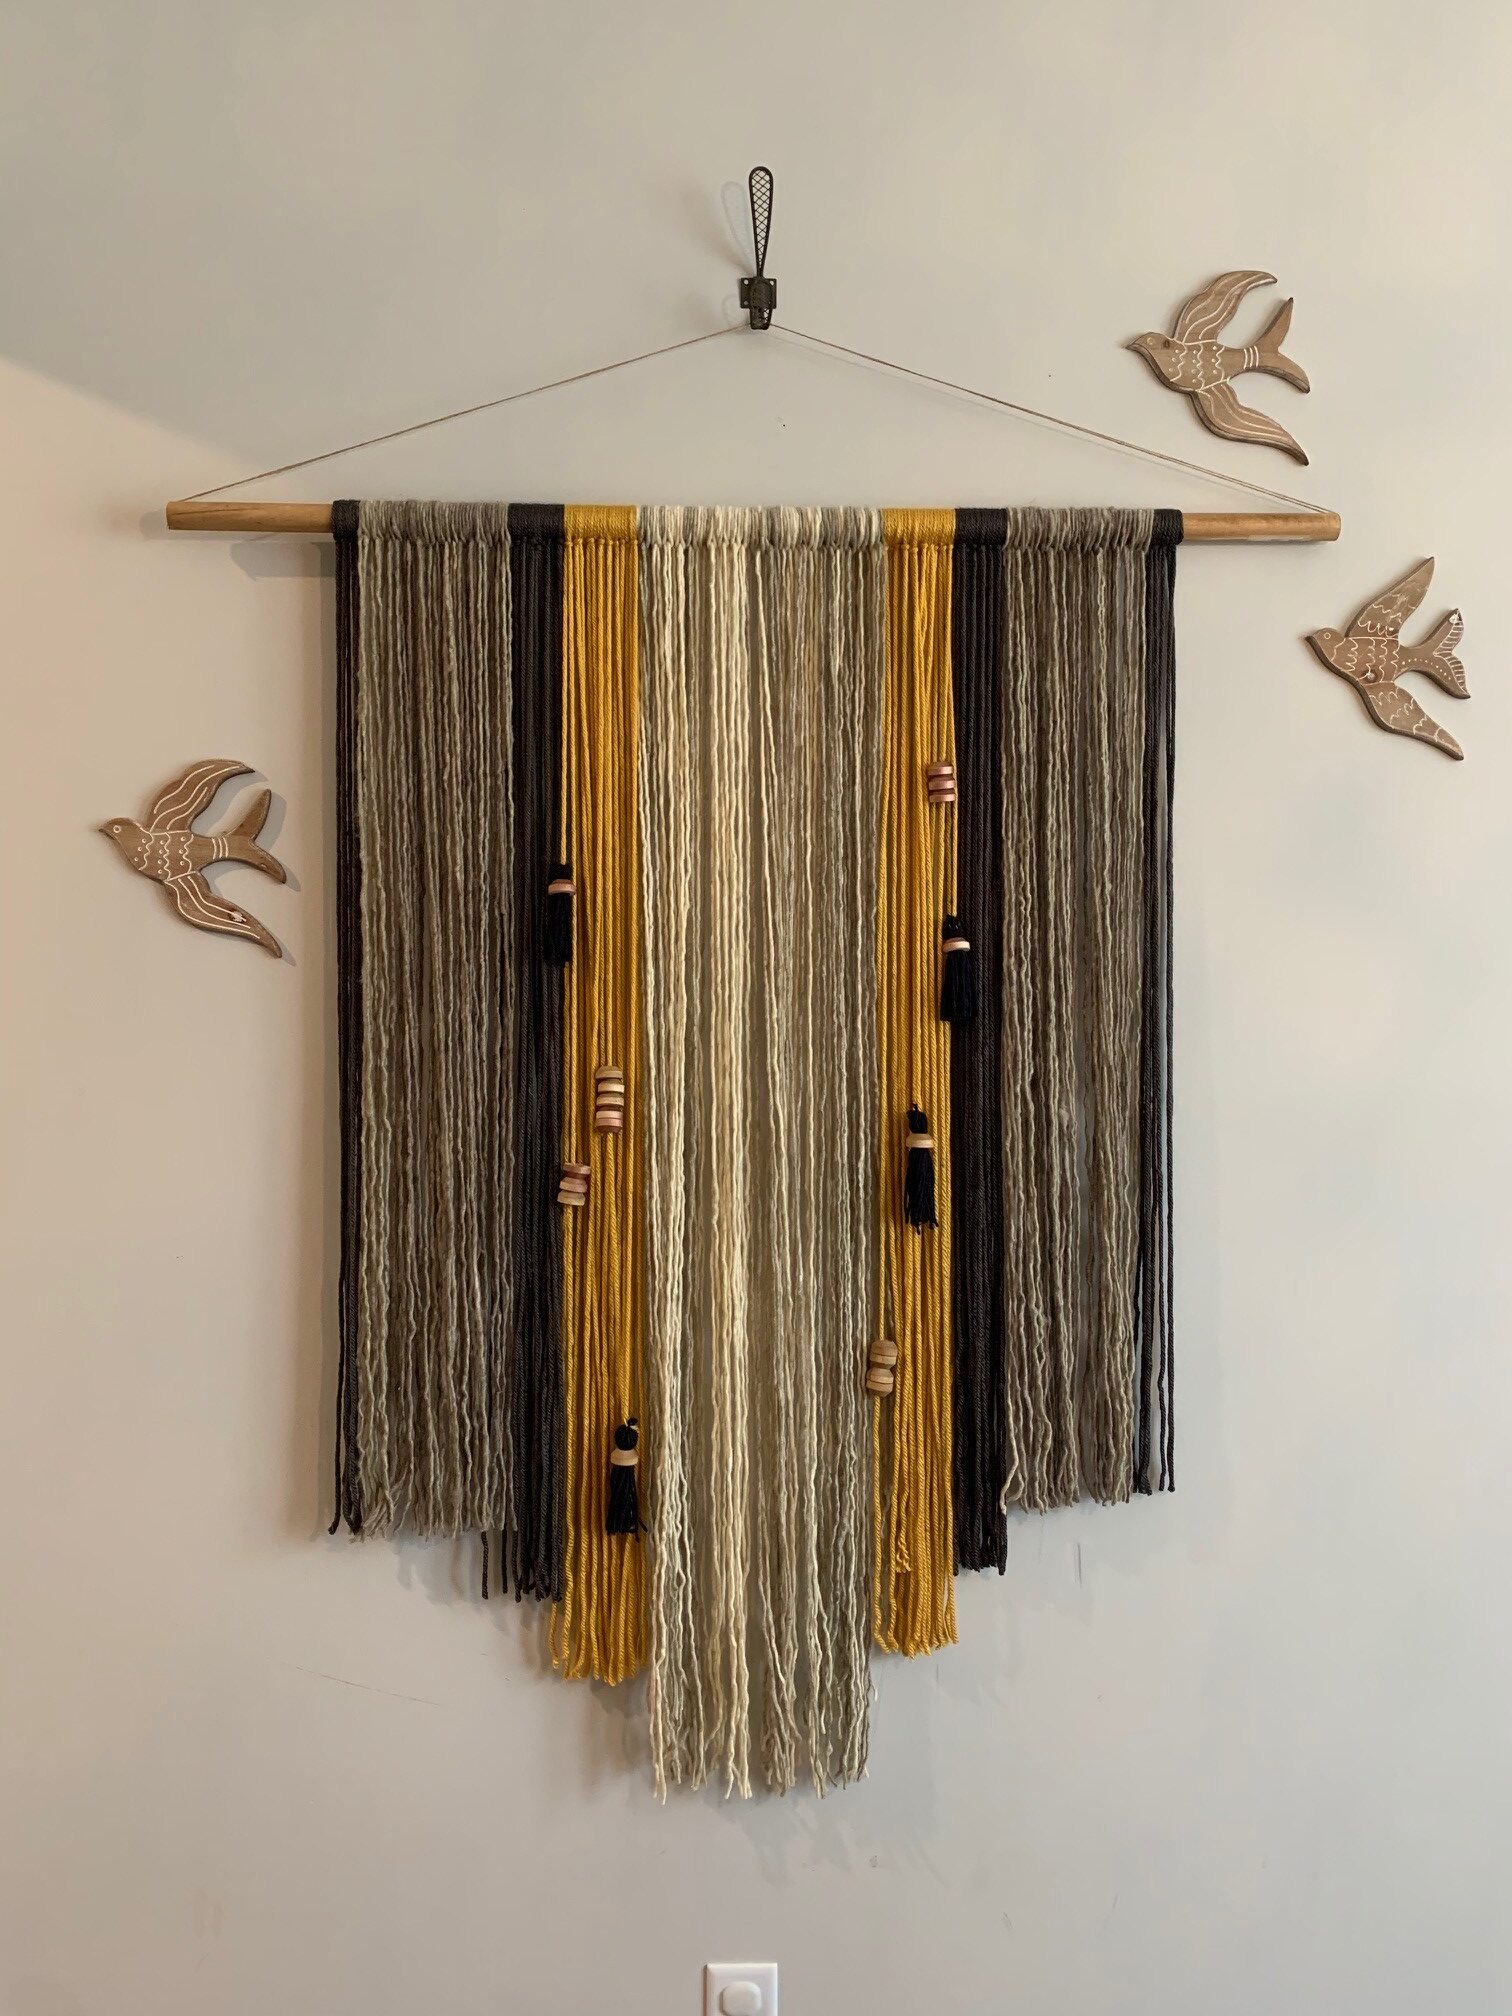
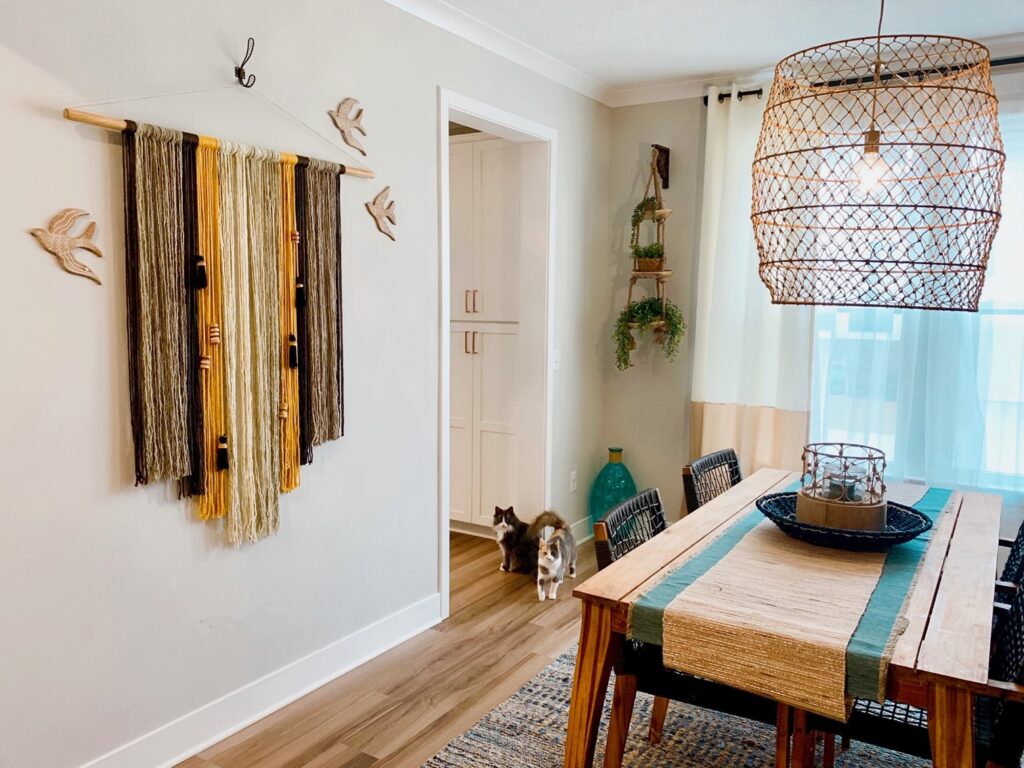
Every year after the fall and Christmas season decorations come down, I get the itch to change the decor up around the house to start fresh for the New Year! This past New Year’s Eve, I created a unique boho-inspired wall hanging for the dining room. So even though I didn’t get dressed up to go out- my walls sure did!
This project was so simple and so cost effective. All in, this project cost under $25 for a huge 5’x4′ piece that brings so much texture and color into the room. I love how customizable this project is and how many different directions you can take it for your own home. Its so simple- it barely needs explanation. If you are on Instagram, check out my highlight called DIY Wall Decor where I show videos of the process.
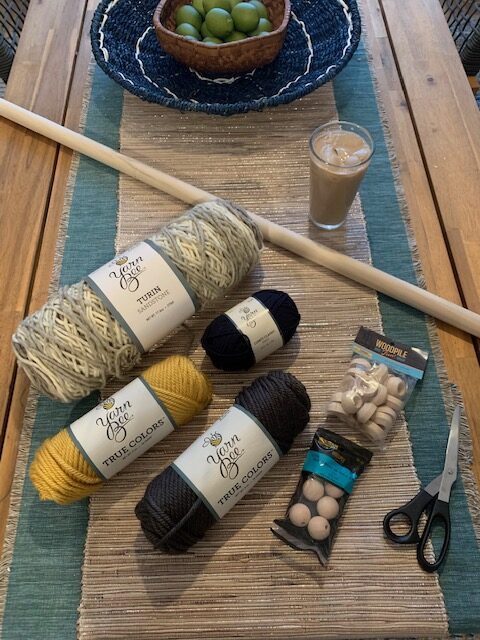
What you need:
- 4′ Long by 1″ diameter wood dowel. You can find these at your local hardware stores. These are very inexpensive- if you want a more rustic look, go for an interesting branch that you pickup on your next adventure!
- Yarn of your choice. If doing a similar size and design to mine you will need at least 420 yards. The color and texture of the yarn is all up to you! I recommend a craft and hobby store like Hobby Lobby that runs frequent sales on their yarn.
- Wooden Beads (optional)
- Hanging Hardware. I used twine from the Dollar Store and a hook that I had extra to give it a unique look.
- Scissors
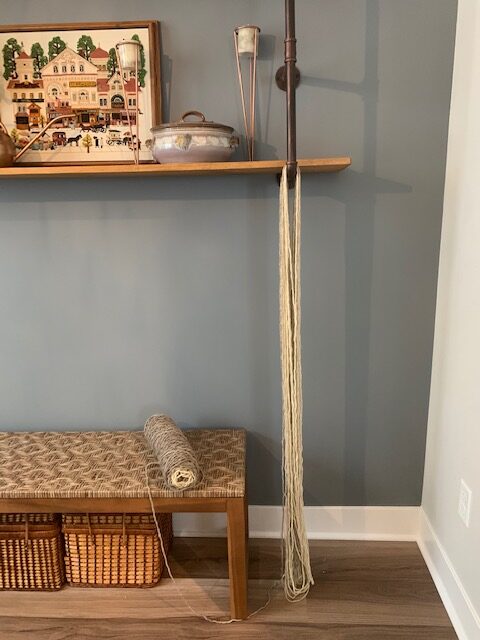
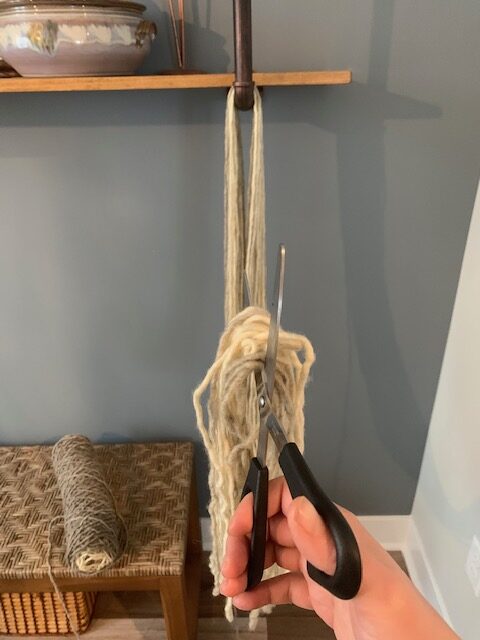
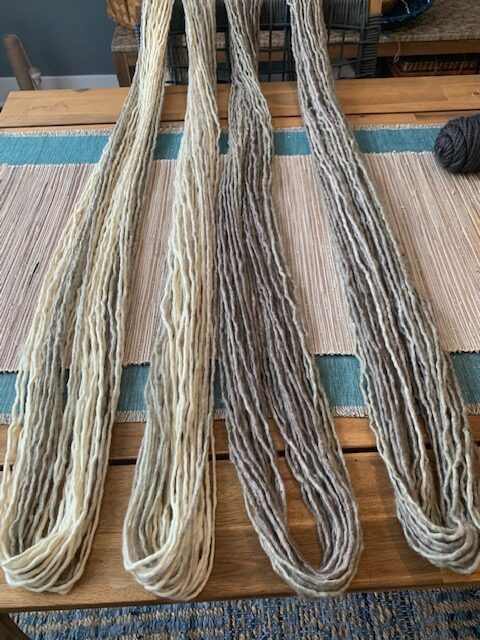
Find a good spot up off of the floor that you can unravel your yarn and start to loop into the long lengths for your wall hanging. I used a shelf in the dining room, but you can also use a doorknob, stair banister, clothes hanger, etc. The idea is to wrap your yarn to create equal lengths. Once this is done you will pull the bottom of the looped yarn taught and cut the loops in half. I looped my yarn in to 48″ long lengths, so each individual strand would be 96″ long. Make sure to keep the lengths folded in half to make the tying process much quicker.
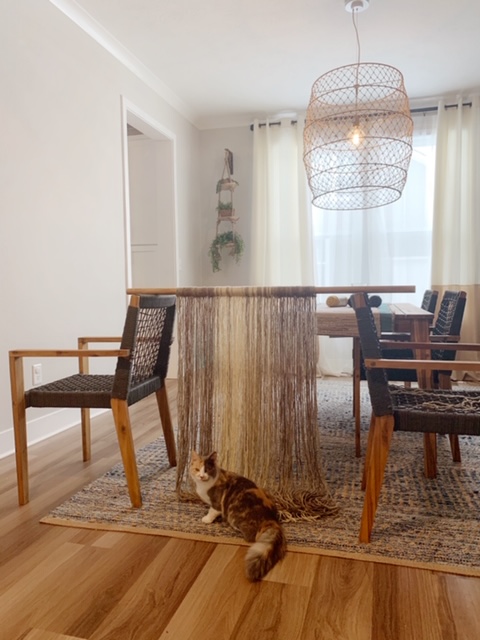
Once all your yarn is looped and cut into the lengths, the next step is to get your down set up off of the floor and secure so that you can tie your yarns in the pattern of your choice. I placed my dowel between 2 chairs which worked perfectly. Also if you have animals, like cats, I recommend they be put up for this next part- unless you are ready to have a yarn party all over your house!
How To Attach String:
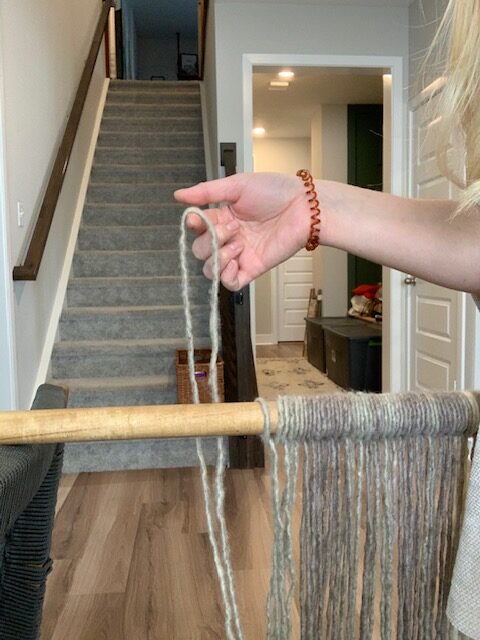
1: Take folded half of yarn and place across dowel. 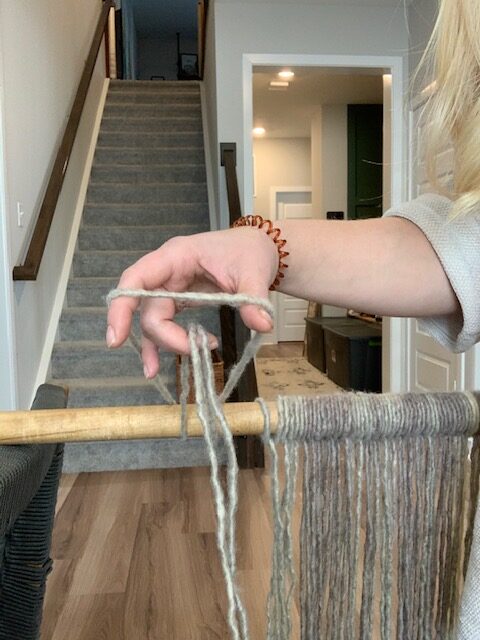
2. Open folded end and grab length of string with cut end. 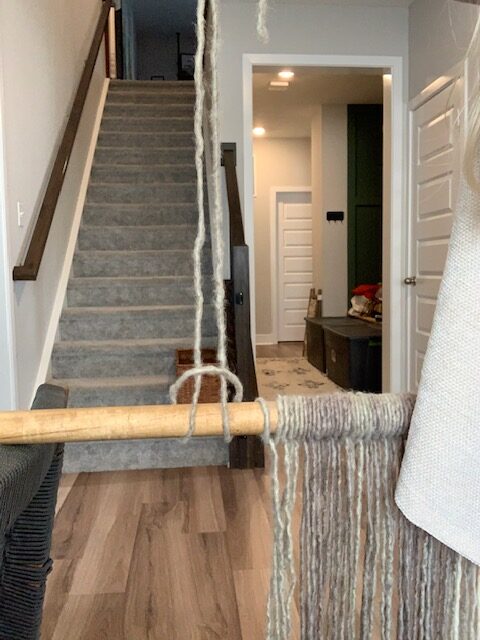
3. Pull through. 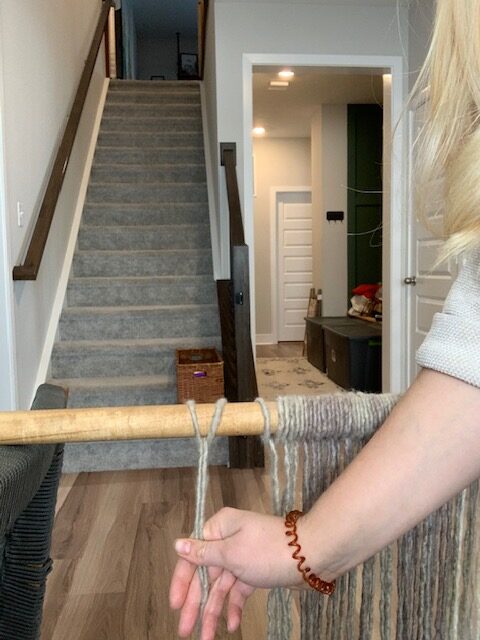
4. Tighten and let cut end hang. Easy peasy.
Once I completed adding all the yarn in the design and placement I liked, I created a few tassels using the wooden beads and extra yarn I had to add some extra detail. This part is optional, but very easy. I wrapped the yarn around a cup and cut one end, leaving the other end folded over. I then used a piece of string to tie off the folded end and secured with a wooden bead. You will also probably want to trim up the bottom of the yarns once they are all attached to the dowel as well. I trimmed mine into a ‘V’ shape to give it more movement after I hung it on the wall.
Next time you go to the craft store, don’t overlook the yarn isle! It’s not just for knitting scarves anymore!
